Resin + Epoxy
How To
Part 2
OVERVIEW:
Watch this video for an in-depth explanation of our Tips + Tricks for Beginner Epoxy and Resin Workers.
What we cover:
- How to prep your slabs for an epoxy pour
- How to properly mix your epoxy
- How to avoid and repair pin holes in your resin
- Tips for pouring clear epoxy over a coloured pour
- Pros and Cons using Epoxy as a finish compared to an Oil finish

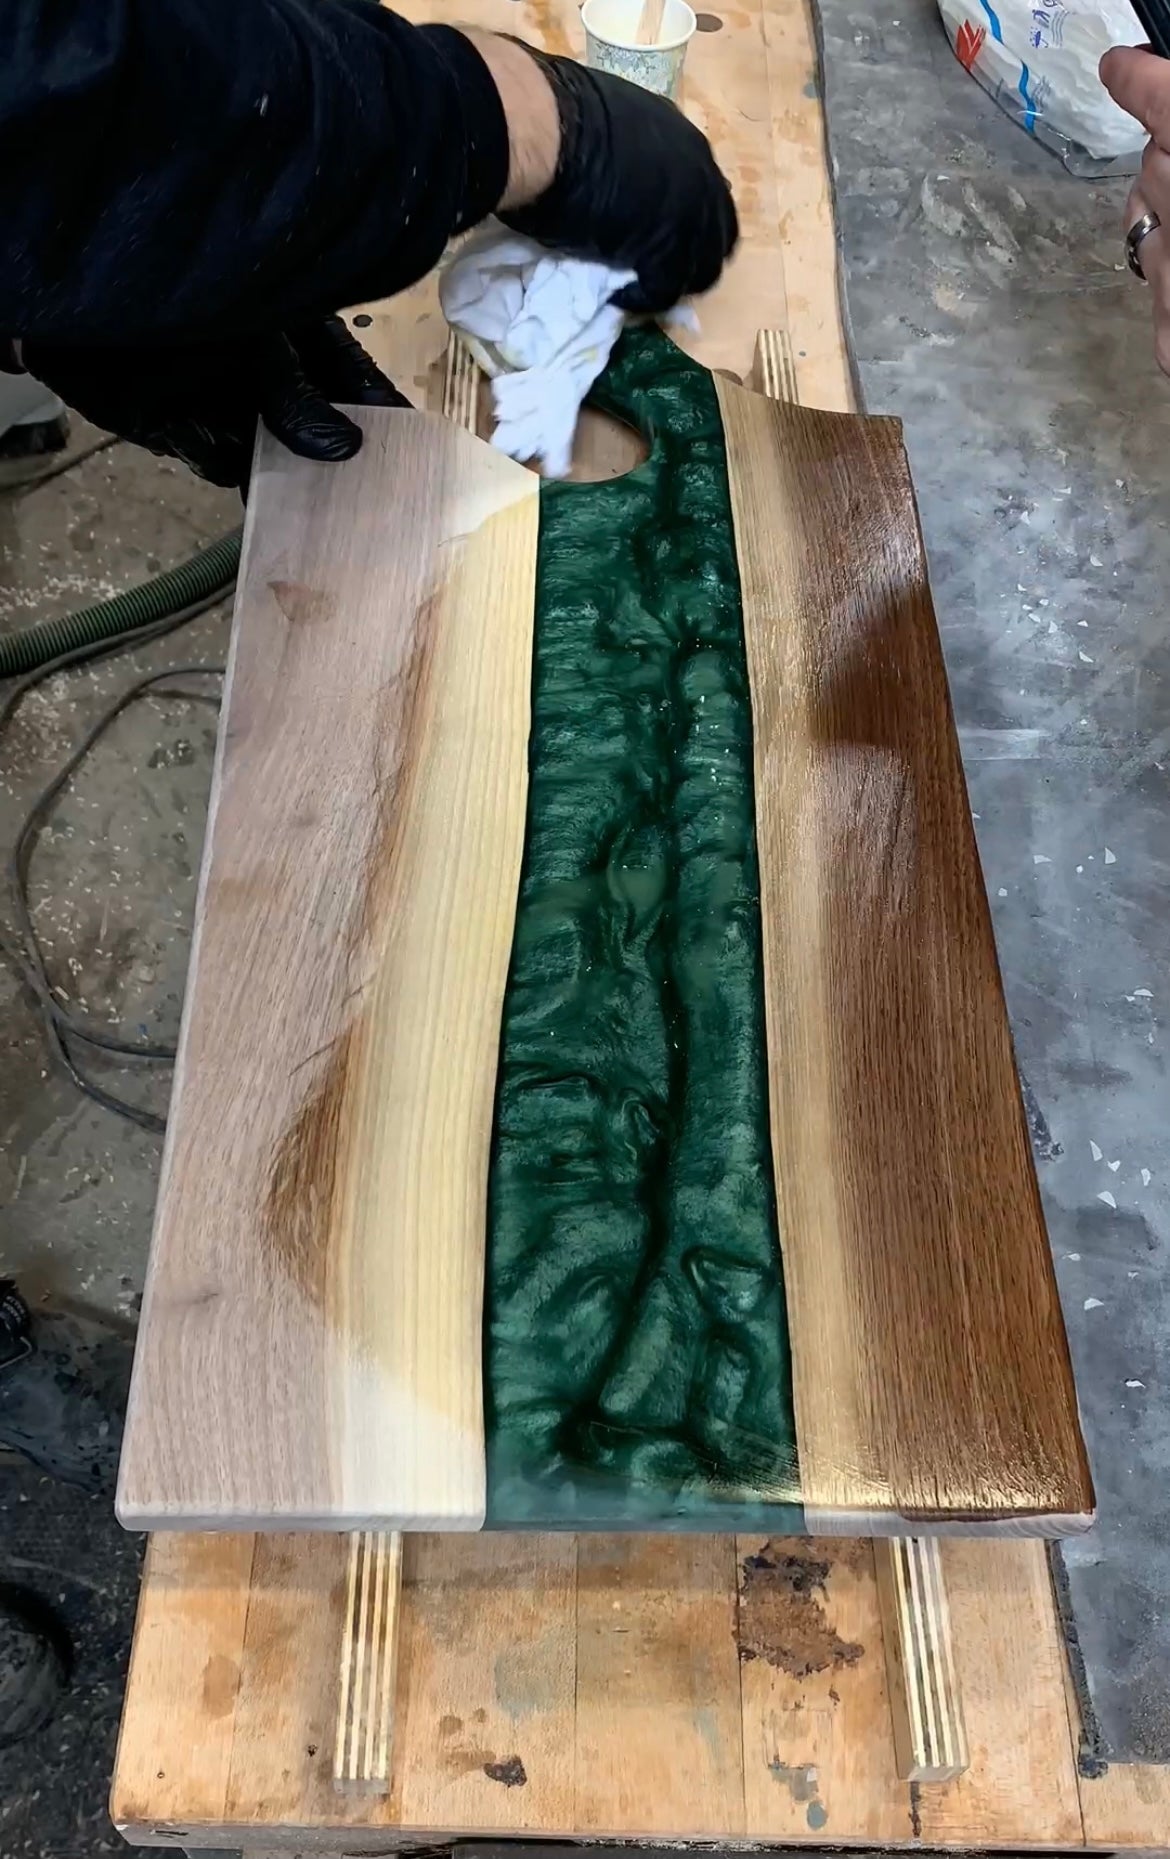
Preparing Your Wood:
Remove Bark with either
- Hammer + Chisel
- Draw knife
Clean up edge with:
- Wire Brush
For Video Reference and more tips, Click HERE
Properly mixing your Resin:
Ratio for Resin is typically by Volume and NOT Weight
Read the instructions carefully for the epoxy brand that you are using.
We suggested to throughly mix your resin before adding in pigment.
Dealing with pin holes in your resin:
There are two Options that we find work well:
i) Place your epoxy inside a vacuum chamber to remove all the microscope air bubbles
ii) Using Akfix 705 mix in the pigment to match your original pour. For video reference and a more in-depth answer Watch This
Pouring clear epoxy over a coloured pour
- Scuff up the Surface once the first layer has cured
- Clean the surface and any loose bits from the area
- Pour your second layer of epoxy and watch all of your scratches disappear
Using Epoxy as a finish VS. an Oil finish
Pro's of Epoxy Finish: Clear final product
Con's of an epoxy Finish: Looks like Plastic / Tough to execute (Need a dust free environment) / Difficult to maintain
Pro's of an Oil Finish: Easy to apply and maintain / Low medium sheen
Con's of an Oil Finish: Not ideal for clear pours (cloudy Look)


