All you need to know about Ecopoxy's UVPoxy
Key Features:
UVPOXY Is Designed for Clear Coating
Mix Ratio 1:1 (by volume not weight)
Cure Time: 48 hours (Depending on temperature and humidity)
Set Time: 4-8 hours (Depending on temperature and humidity)
Working Temperature Range: 21-27 Degrees Celsius (55-77 Degrees Fahrenheit)
Maximum Recommended Pour Depth: 1/4"
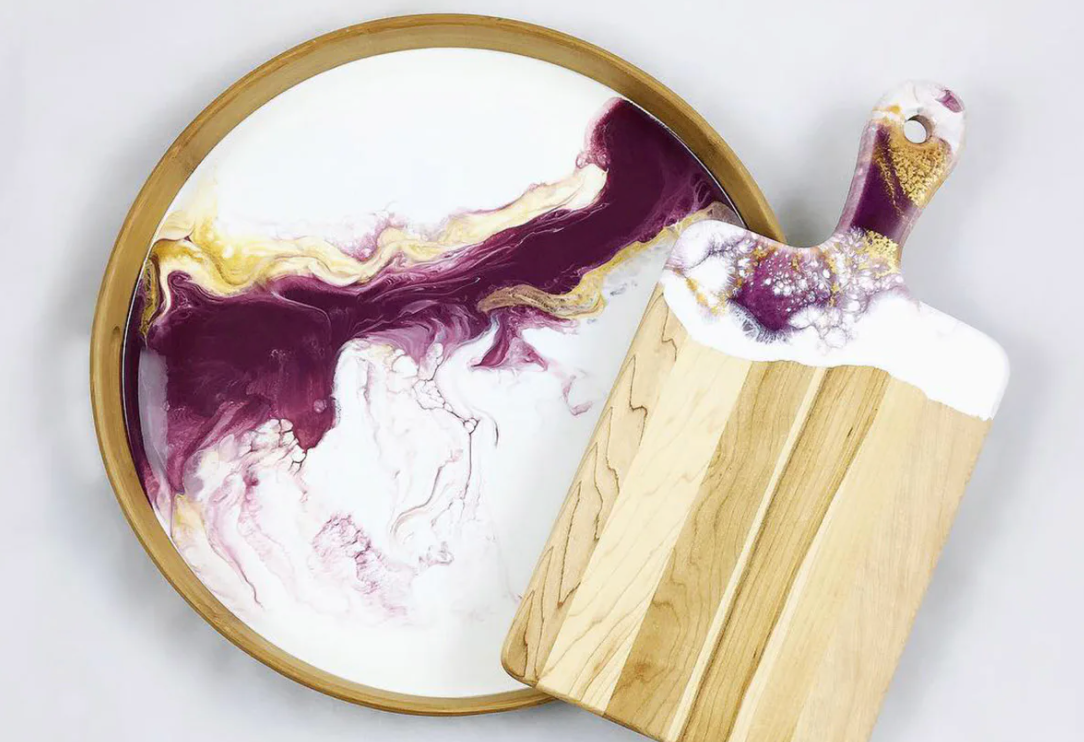
Image sourced from Ecopoxy Website
Preparing to Use this Product:
- Use a Clean + Dry container
- Combine 1 Part Resin with 1 Part Hardener (Measure by Volume)
To calculate how much Resin you need for your project, add in your dimensions (Length x Width x Depth) in inches to this formula HERE
- Mix thoroughly for at least 2 minutes. When you combine the two parts, the resin will be cloudy. Mix until the combination of these parts returns to a clear and transparent colour.
Adding in Pigment
- Add desired pigments and continue to mix until the resin is completely coloured.
- Since UVPoxy is intended for thinner pours, it is recommended to go for an opaque look to get maximum colour effect.
- Remember that pigment is more concentrated in your mixing container than when you pour it out. Make sure you are mixing throughly scraping the sides and bottom of your container as well as the stir stick. You don't want the pigment to settle to the bottom of your container which would leave large floating flecks when poured out.

What to do if your UVPoxy Crystallizes:
- When the Resin is cloudy (Part A), the process of crystallizes has begin. Simply warm up the product to bring it back to a liquid state
- Fill a sink or bucket with hot water (45-60 Degrees Celcius / 113-140 Fahrenheit)
- Put the resin (Pt A) in the hot water for 20 - 30 minutes (Larger containers may require a longer time). This will bring the product back to the state in which you can use it again.
BE AWARE: A warm resin will give you a shorter working time. Typically UVPoxy has 20-30 minutes of working time but if warm it could be 5-10 minutes.
Watch this video for a more in-depth explanation and answer

Made at @JeffMackDesigns
Multiple Pours vs Single Pour Projects:
There are many different applications UVPoxy can be used for.
If your are adding a seal coat to a table top, you will need to complete this in multiple steps.
For art projects, your pour can typically be done all at one time.
Below we have detailed out different scenario's and the steps you will need to take:
Multi Layer Coats:
If you have poured the UVPoxy to its recommended max thickness but require a thicker finish, you may want consider multiple layers.
- It is suggested to complete this between 4 to 24 hours (depending on temperature and humidity).
- You want the original pour to be firm but still tacky.
- When you add your second layer it shouldn't penetrate the first layer, but rest on-top. Since the first layer is tacky it will allow the second layer to bond with it easily but not penetrate the surface allowing it to cure undisturbed at their own rates.

Image sourced from Ecopoxy Website
One Coat Projects:
Resin Art:
Make sure whatever surface you are pouring on will allow the epoxy to bond. If it is a smooth plastic-like surface, sand at 60g to roughen up the area. This will allow the resin to bond (After this step make sure the surface is dust free).
- Your surface needs to be level otherwise the epoxy will run to the low end by the time it cures
- Follow the mixing and adding pigment steps described above in 'Preparing to use this product' and 'Adding Pigment' section.
- Pour your coloured resin on the surface in the desired pattern you hope to achieve
- Make sure you go over the edge and have a place for the resin to drip off
- Use a torch to pop any bubbles that come to the surface
- Monitor the edge and use a foam brush to clean any drips that develop

Made at the @JeffMackDesigns shop
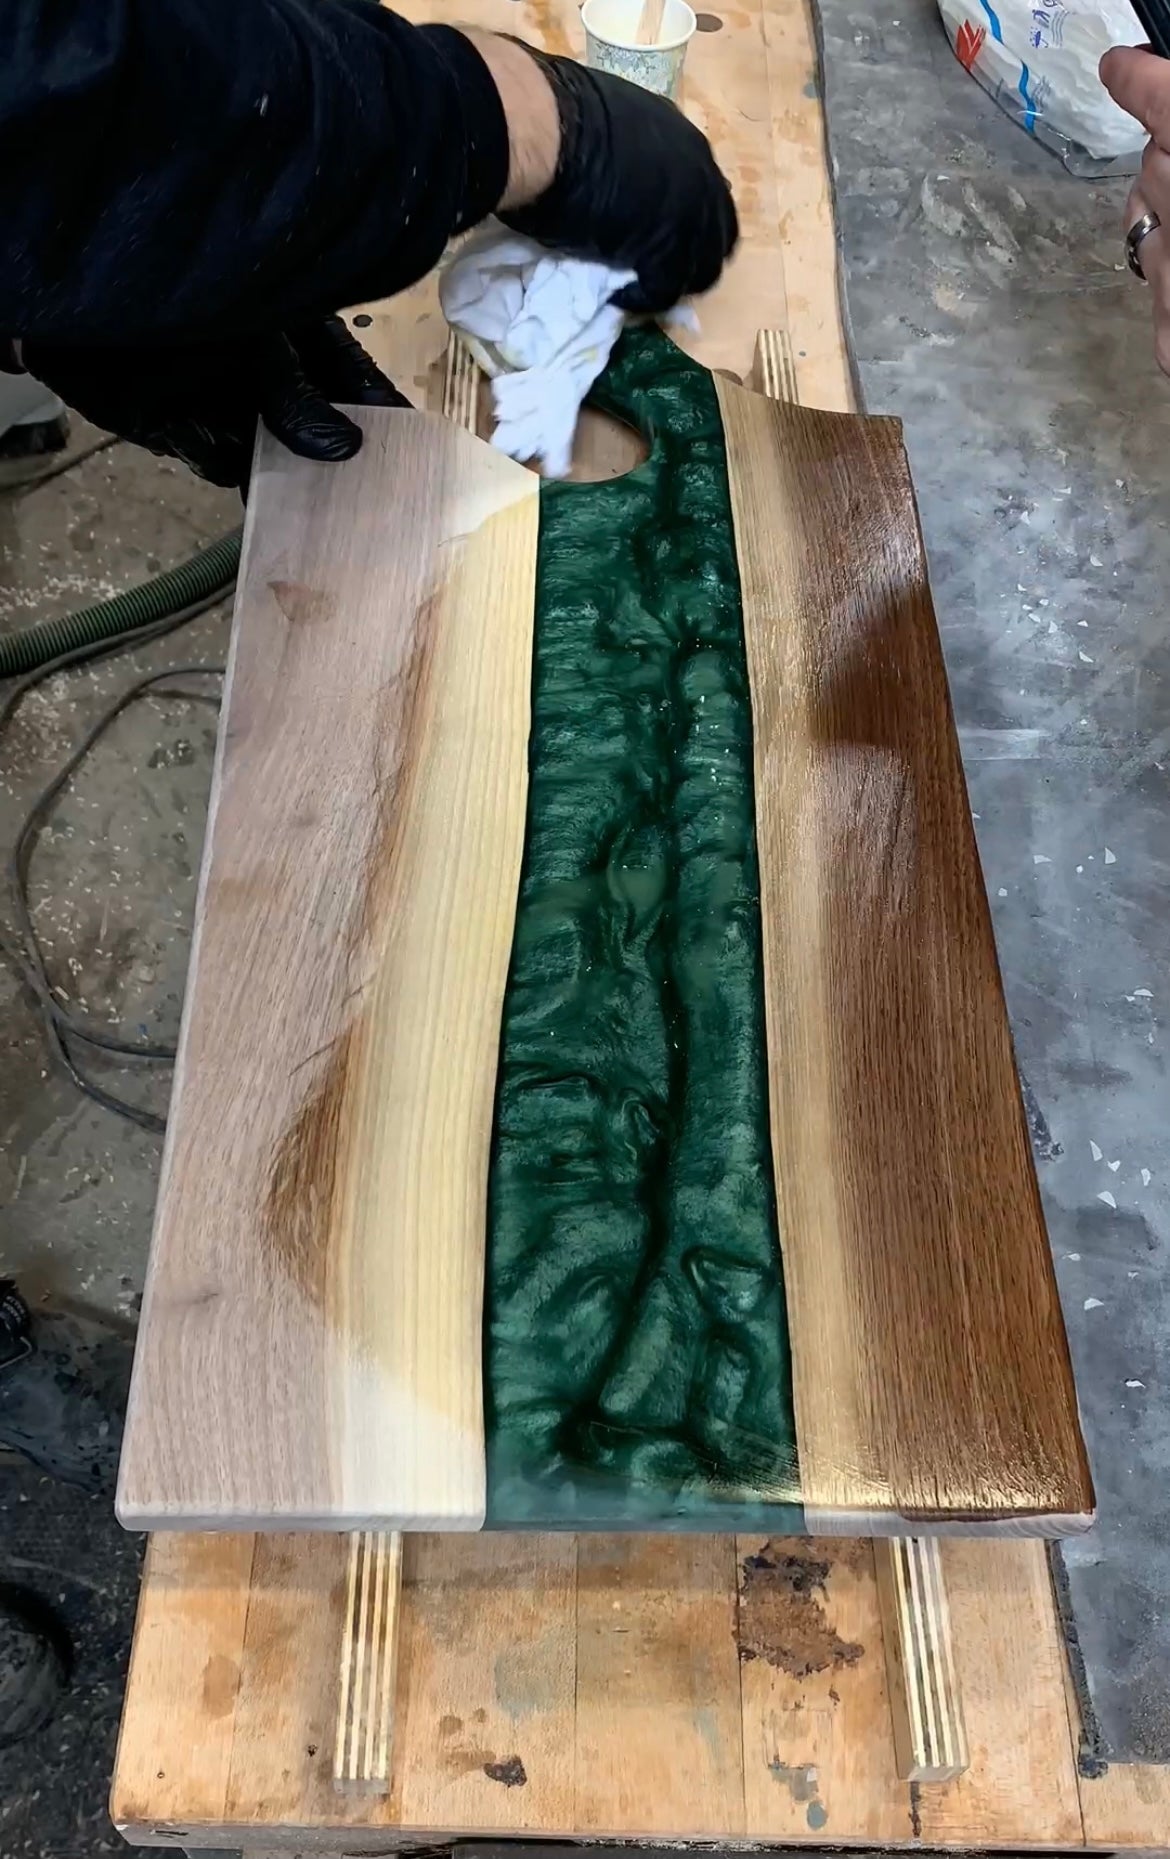
Laser Engravings / Routed out Area's:
- Sometimes it is helpful to run a bead of hot glue around the area you are filling to create a damn for the epoxy to stay inside. This will help reduce your sanding once the resin is cured.
- Follow the 'Preparing to use this product' and 'Adding Pigment' steps described above
- Use a torch to pop any bubbles that come to the surface
TIP: We use Hot Glue over silicone for the damn. Silicone penetrates into the grain more requiring more sanding afterwards
Multi-Layer Coat Application after Resin has Cured
Once tack-free, you will need to sand between layers to ensure proper adhesion.
Check out this Video for in-depth steps
Top Coating a Table
When completing this application, it is important to work in a dust free environment to avoid any surface imperfections while the final coat cures.
- Once Resin is mixed, use a foam brush and apply a sealer coat to the surface. The more surface area you seal, the less bubbles there will be on the main coat
- Use a heat gun / torch to pop any air bubbles that have formed. This should be a quick pass over the project surface. Do not concentrate in one area
- Once your brush coat has cured, you can pour your main batch onto the surface
- Use a (notched) spreader to evenly distribute the product over the entire piece
- Once this coat has cured, sand off any imperfections. This will provide a solid bond for the final coat. For this step it is recommended to use 220g sandpaper
- Clean off the dust (you can use an alcohol based cleaner if you have any)
- With a level, make sure the entire piece is flat
- Apply your final flood coat layer (using a notched spreader is a good way to make sure the resin is being distributed evenly). A foam roller works well for applying resin to the sides without excessive dripping
- Any scuff marks created during the sanding process will disappear
- Pop the bubbles one last time and leave until fully cured before using!


