DIY Cutting Board Guide
How to Make an Edge Grain Cutting Board
An edge grain cutting board is one of the best beginner-friendly woodworking projects because it is useful, customizable, and a great way to combine different hardwood species into a finished kitchen board.
This guide explains the basic process for making an edge grain cutting board using hardwood cutting board strips, including layout planning, glue-up, clamping, flattening, sanding, and finishing.
Quick Answer
To make an edge grain cutting board, arrange hardwood strips in your preferred layout, rotate the strips on edge so the board is thicker, glue and clamp the strips together, allow the glue to cure, flatten the board, sand through the grits, then apply a cutting-board-safe finish.
Our cutting board strips measure approximately 1.75" wide x 3/4" thick. When rotated on edge, the 1.75" dimension becomes the board thickness, creating an approximately 1.75" thick edge grain cutting board before sanding and finishing.
What Is an Edge Grain Cutting Board?
An edge grain cutting board is made by gluing wood strips together with the narrow edge facing up. This creates a thicker board and shows long, straight grain lines across the surface.
Edge grain boards are popular because they are easier to make than end grain cutting boards, while still creating a durable, attractive, and useful kitchen board. They are a great starting project for DIY woodworkers and hobbyists.
Face-Up Board vs Edge Grain Board
Our cutting board strips can be used two different ways. The orientation you choose affects the finished thickness, board width, and overall look.
Face-Up Layout
Glue the strips edge-to-edge with the wider 1.75" face showing. This creates an approximately 3/4" thick board before sanding and finishing.
This is useful for thinner serving boards, cheese boards, charcuterie boards, and lighter-use boards.
Edge Grain Layout
Rotate the strips on edge so the 1.75" dimension becomes the board thickness. This creates an approximately 1.75" thick board before sanding and finishing.
This is the better choice for a thicker, more substantial cutting board.
Tools and Supplies You Need
The exact tools depend on your shop setup, but these are the main supplies used for a typical edge grain cutting board build.
Hardwood strips used to build the body of the board.
Shop Wood Strips → Sandpaper
Used to smooth the board before applying finish.
Shop Sandpaper → Cutting Board Finish
Use a finish suitable for cutting boards and food-contact surfaces.
Shop Wood Finishes →
You will also need a suitable waterproof wood glue, clamps, a way to flatten the board, and basic sanding or woodworking tools.
Step-by-Step: How to Make an Edge Grain Cutting Board
Step 1: Choose Your Wood Strips
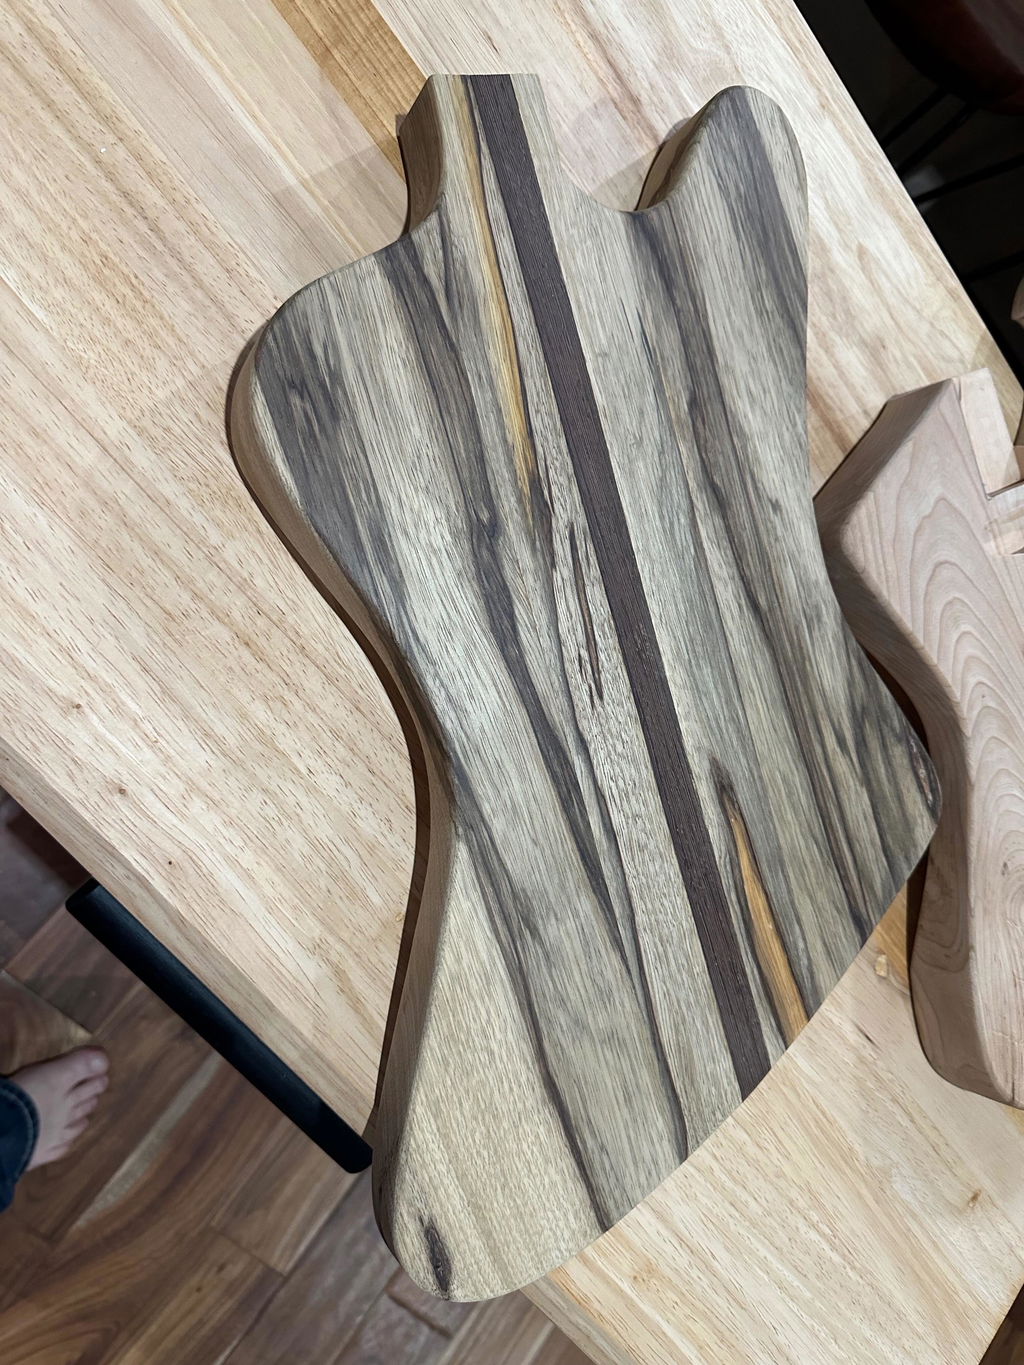
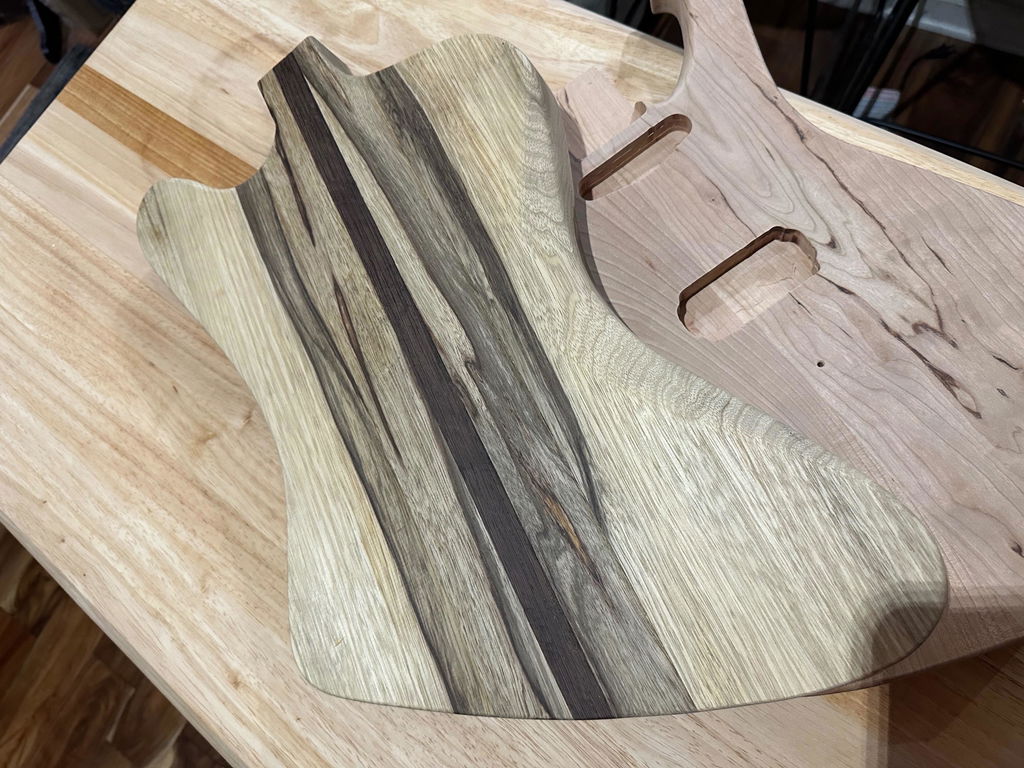
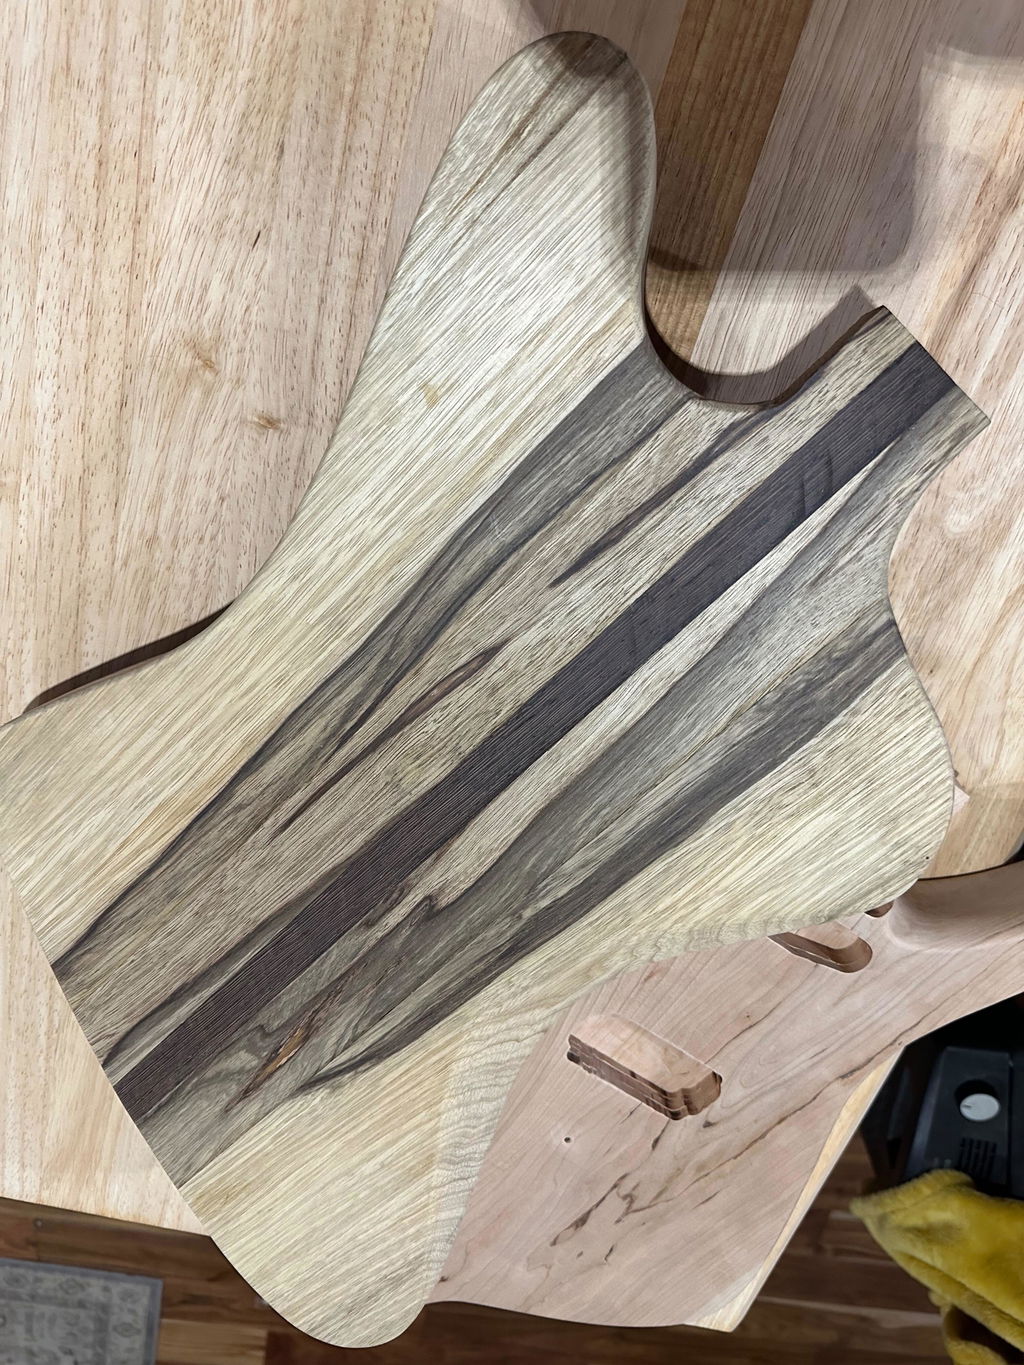
Start by choosing your hardwood strips. Maple, walnut, and cherry are classic options, while padauk, purpleheart, wenge, canary wood, leopardwood, and black limba can be used as accent strips for colour and contrast.
Step 2: Plan Your Strip Count
Decide how wide you want the finished cutting board to be. For an edge grain board using our strips on edge, each strip adds approximately 3/4" of width before trimming and sanding.
Step 3: Lay Out the Design
Arrange the strips before glue-up so you can see the full design. Move light, dark, and colourful species around until the layout feels balanced.
Step 4: Rotate the Strips on Edge
For an edge grain cutting board, rotate each strip so the 1.75" dimension becomes the thickness of the board. This creates a thicker board before sanding and finishing.
Step 5: Glue and Clamp the Board
Apply a suitable waterproof wood glue to the mating faces, then clamp the strips together evenly. Use enough clamp pressure to close the joints without forcing the board out of alignment.
Step 6: Let the Glue Cure
Allow the glue to cure fully before removing clamps or machining the board. Follow the glue manufacturer’s instructions for cure time.
Step 7: Flatten and Trim the Board
Once the glue has cured, flatten the board and trim it to final size. The exact method depends on your tools and shop setup.
Step 8: Sand Smooth
Sand the board through your grits until the surface is smooth and ready for finish. Pay attention to edges, corners, and glue lines.
Step 9: Apply a Cutting-Board-Safe Finish
Apply a finish suitable for cutting boards and food-contact surfaces. Reapply finish as needed to maintain the board over time.
How Many Strips Do You Need for an Edge Grain Board?
When our cutting board strips are rotated on edge, each strip adds approximately 3/4" of board width and creates an approximately 1.75" thick board before sanding and finishing.
| Number of Strips | Approx. Board Width Before Trimming | Approx. Board Thickness Before Sanding |
|---|---|---|
| 10 strips | 7.5" | 1.75" |
| 12 strips | 9" | 1.75" |
| 14 strips | 10.5" | 1.75" |
| 16 strips | 12" | 1.75" |
Tip: Order a few extra strips if you want more layout options, plan to trim the board heavily, or want extra pieces for future projects.
Best Woods for an Edge Grain Cutting Board
Maple, walnut, and cherry are classic choices for edge grain cutting boards. They create a clean, timeless look and are easy to design around.
Classic Board
Use maple, walnut, and cherry for a clean beginner-friendly board with simple contrast.
High-Contrast Board
Use maple with walnut, wenge, or purpleheart for stronger contrast lines.
Colour Accent Board
Add padauk, purpleheart, canary wood, leopardwood, or black limba as accent strips.
For a deeper species comparison, see our Best Wood for Cutting Boards guide.
Mixed Packs Are Great for Edge Grain Boards
If you want a variety of species without choosing every strip individually, a mixed pack is a great option. Our 16-pack and 50-pack mixed cutting board strips include random species so you can experiment with layout, colour, and contrast.
Mixed packs work well for hobbyists, DIY builders, and woodworkers who want to build one or more custom cutting boards without buying full boards of every species.
Shop Mixed Cutting Board Strip Packs →Common Edge Grain Cutting Board Mistakes
Not Planning the Layout First
Lay out all of the strips before glue-up so you can balance colour, grain, and contrast.
Using Too Many Colours
Too many bold species can make the design feel busy. A few accent strips often look cleaner.
Rushing the Sanding
Sanding is what makes the board feel finished. Take your time and work through the grits.
Skipping Maintenance
Cutting boards need maintenance. Reapply finish as needed to help keep the board looking and feeling its best.
Finishing an Edge Grain Cutting Board
After the board is flattened and sanded smooth, apply a finish suitable for cutting boards and food-contact surfaces. The finish will deepen the colour of the wood, increase contrast between species, and help the board feel ready for use.
Cutting boards should be maintained over time. Reapply finish when the board starts to look dry or after regular use and washing.
Shop Wood Finishes →Helpful Cutting Board Guides
Shop Edge Grain Cutting Board Supplies
Start with hardwood cutting board strips, choose your layout, then finish your board with sanding and finishing supplies.
Edge Grain Cutting Board FAQ
What is an edge grain cutting board?
An edge grain cutting board is made by gluing wood strips together with the narrow edge facing up. This creates a thicker board with long grain lines across the surface.
Are edge grain cutting boards good for beginners?
Yes. Edge grain cutting boards are generally easier to make than end grain cutting boards, making them a great project for beginner and intermediate woodworkers.
How thick is an edge grain board made with these strips?
When our cutting board strips are rotated on edge, the board is approximately 1.75" thick before sanding and finishing.
How many strips do I need for an edge grain cutting board?
For an on-edge layout, each strip adds approximately 3/4" of board width. For example, 16 strips creates an approximately 12" wide board before trimming.
What wood should I use for an edge grain cutting board?
Maple, walnut, and cherry are classic choices. Exotic woods like padauk, purpleheart, wenge, canary wood, leopardwood, and black limba can be used as accent strips.
Build Your Own Edge Grain Cutting Board
Choose your hardwood strips, rotate them on edge for a thicker board, plan your layout, and create a custom edge grain cutting board with the species and design that fits your project.