How to make a Charcuterie Board with a Handle
What we Discuss
1. Prep Work
2. Dealing with wood flaws or defects
3. Adding a handle
4. Sanding Tips
5. Finishing Recommendations


Shop for all of these wood species and more HERE
1. Prep Work
Pick out your piece of wood and consider what if will be used for. Darker species hide food stains more than lighter species of wood will.
We recommend to remove bark as it could separate from the wood over time.

Shop different resin brands here
2. Dealing with flaws + Defects
If the board has any cracks we suggest to fill it with epoxy so that food or drink spills won't get caught in the voids.
If you leave the split unfilled, over time it will continue to expand. To give your board a little colour consider tinting the epoxy with some pigment.

Shop Handle Templates Here
3. Adding a handle
1. Pick a handle template and figure out the position you would like to have it on your board
2. Use template tape to attach the template to your piece of wood
3. Use this bit to router out the profile of the board. If you don't have a router you can always trace it and cut it with a jig saw / bandsaw.
What a video here and here to see two different methods of adding a handle in

Avoid this and Read more here about Sanding Tips + Tricks
4. Sanding
We recommend to go in the following increments:
80g > 100g > 120g > 150g > 180g
Depending what oil product you use will determine your final grit that you sand to
Purchase sandpaper / sanding blocks here

Purchase an oil finish here
5. Finishing
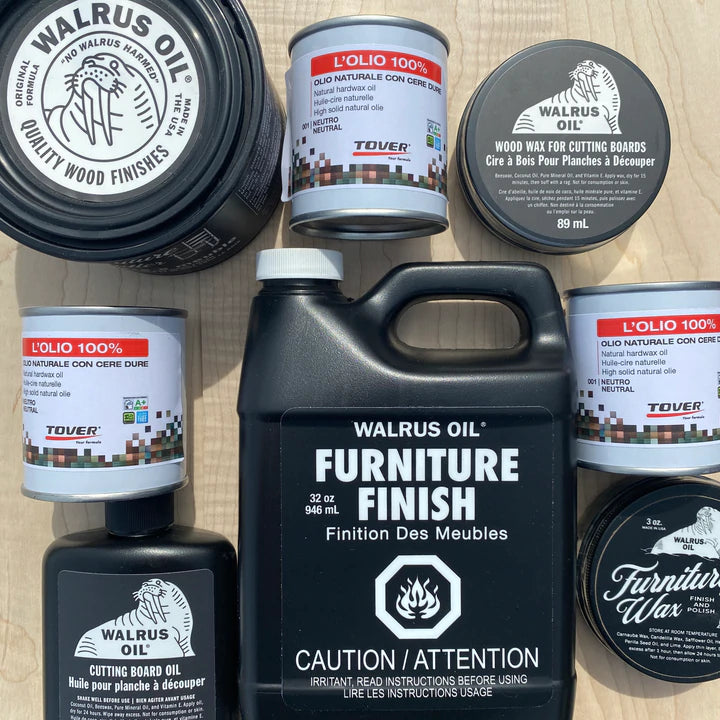
We recommend using a food safe oil finish for charcuterie boards.
They are easy to maintain and most are food safe once cured.
Read the instructions on your container carefully as certain oils require you to sand to different grits for best results.
We recommend Walrus Oil, Rubio Monocoat or Tover Oil which are all reputable brands that we use on all our projects.


