How to Make an Epoxy Charcuterie Board
An epoxy charcuterie board is a great project for combining natural hardwood with coloured resin. The finished board can be used as a serving board, gift, display piece, resin art project, or a custom handmade item.
This guide walks through the main steps: choosing the wood, selecting a mold, planning the layout, mixing epoxy, adding pigment, pouring, curing, sanding, and finishing the board.
Watch: Epoxy Charcuterie Board Project
This video is a helpful visual reference for understanding the general process of making a wood and epoxy board.
Before You Start
Epoxy projects require planning. Always follow the epoxy manufacturer’s instructions for mixing ratio, pour depth, working time, cure time, temperature, and safety precautions. This guide is meant to help with project planning, product selection, and workflow, but the instructions on your specific epoxy product should always come first.
Supplies You Need for an Epoxy Charcuterie Board
The exact supplies depend on your project, but most wood and epoxy serving board projects use the same general categories: wood, mold, epoxy, pigment, mold accessories, sanding supplies, and finish.
Wood Pieces
Choose a piece with attractive grain, live edge character, cracks, voids, or a shape that works well with resin.
Shop One-of-a-Kind Wood PiecesReusable HDPE Mold
A reusable mold helps hold the wood and epoxy in place while the resin cures.
Shop HDPE Epoxy MoldsDeep Pour Epoxy
Deep pour epoxy is commonly used for casting thicker resin sections, filling deeper voids, and creating wood and epoxy boards.
Shop EcoPoxy FlowCastPigments
Add colour, shimmer, metallic effects, neon-style colours, pearl effects, or colour-shift movement to your epoxy pour.
Shop Beaver Dust PigmentsMold Accessories
Clamping blocks, dividers, and accessories can help with mold setup, wood placement, and project layout.
Shop Clamping Blocks & DividersSanding & Finish
After the epoxy cures, you will need to sand the board and apply a finish suited to the intended use of the project.
Shop Sanding SuppliesStep-by-Step: How to Make an Epoxy Charcuterie Board
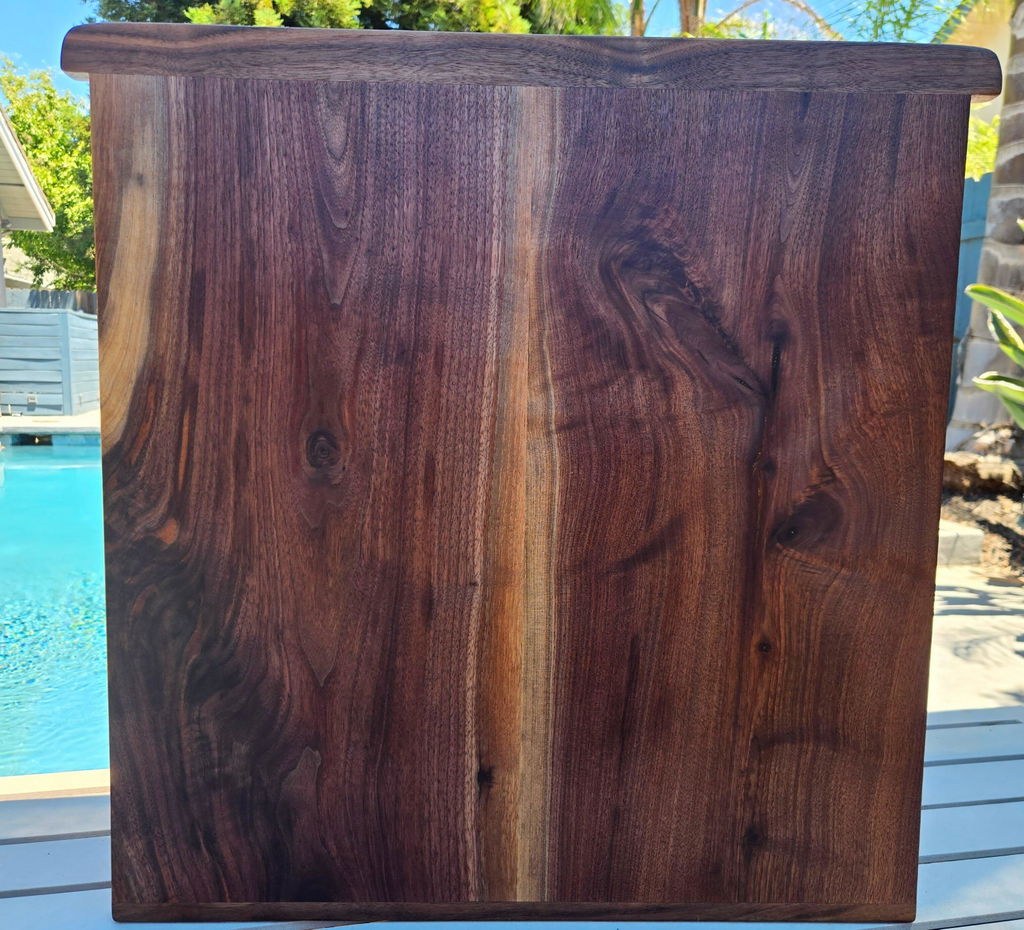
Step 1: Choose Your Wood Piece
Start with a dry, project-ready hardwood piece that fits the style and size of board you want to make. For epoxy charcuterie boards, look for attractive grain, live edge shape, cracks, voids, knots, or natural character that can be highlighted with resin.
Individually photographed wood pieces are helpful because you can choose the exact board, slice, slab, or blank for your project before buying.
Step 2: Choose the Right Mold Size
Your mold should fit the finished board size you want while leaving enough space for epoxy. Smaller molds are useful for compact serving boards and gift projects. Larger molds give you more layout room for wood placement and resin flow.
Common sizes for epoxy serving boards include 10" x 18" and 12" x 24" molds.
Step 3: Plan the Layout
Place the wood inside the mold and test the layout before mixing epoxy. Think about where the resin will flow, how much epoxy will show, and whether the finished board will feel balanced.
Look at the live edge, grain direction, cracks, voids, and overall shape. The layout should feel intentional before you pour.
Step 4: Prepare the Mold and Wood
Make sure the mold is clean and the wood is positioned securely. Depending on the project and mold setup, clamping blocks, dividers, and sealant can help control the layout and reduce movement during the pour.
Do not include loose debris, dust, or unstable material in the pour area. If the wood has cracks or voids, plan how they will be filled with epoxy.
Step 5: Mix the Epoxy
Mix your epoxy according to the manufacturer’s instructions. Pay close attention to the required ratio, mixing time, working time, temperature, and maximum pour depth.
For deeper sections, void filling, and casting-style board projects, deep pour epoxy is commonly used.
Step 6: Add Pigment
Add pigment to the epoxy based on the look you want. Mica powder can create shimmer, pearl, metallic, and colour effects. Liquid pigments can be used when you want strong colour saturation.
Choose a colour that supports the wood species. Walnut often pairs well with black, gold, blue, green, pearl, and metallic colours. Olive wood often works well with clear, black, white, gold, or subtle translucent colours. Lighter woods can look great with darker or smoky epoxy tones.
Step 7: Pour the Epoxy
Pour slowly and carefully into the mold, allowing the epoxy to flow around the wood and into the cracks, voids, or open areas. Keep the mold level and avoid moving the project once the pour begins unless your specific process requires it.
Follow the epoxy manufacturer’s instructions for bubble management, working time, temperature, and cure time.
Step 8: Let the Epoxy Cure Fully
Allow the epoxy to cure fully before removing the board from the mold. Cure time can vary depending on the epoxy, pour depth, room temperature, and project conditions.
Removing the project too early can cause problems with the surface, edges, or final sanding.
Step 9: Remove, Trim, Flatten, and Sand
Once cured, remove the board from the mold and prepare it for finishing. Depending on the project, this may include trimming edges, flattening, sanding, easing sharp edges, or cleaning up the final shape.
Use a sanding progression suited to your project and surface. The goal is to bring the wood and epoxy to a smooth, even finish before applying your final oil or hardwax oil.
Step 10: Finish the Board
Apply a finish suited to the intended use of the finished piece. For serving boards and charcuterie boards, many makers choose a food-safe oil, board finish, or hardwax oil option depending on the project.
Use clean towels or applicator pads to apply and wipe back the finish according to the product instructions.
Best Wood Species for Epoxy Charcuterie Boards
Several hardwood species work well for epoxy charcuterie boards. The best choice depends on the colour, grain, and finished style you want.
| Wood Species | Why It Works | Good Epoxy Pairings | Shop |
|---|---|---|---|
| Walnut | Rich brown colour, premium look, strong contrast, classic epoxy board appearance. | Black, gold, clear, blue, green, pearl, metallics | Shop Walnut Pieces |
| Olive Wood | Bold grain movement and warm tones for statement serving boards. | Clear, white, black, gold, translucent colours | Shop Olive Wood Pieces |
| Ambrosia Maple | Lighter background with natural streaking and contrast. | Black, blue, green, smoky tones, translucent pigments | Shop Ambrosia Maple Pieces |
| Cherry | Warm, classic hardwood look for serving boards and handmade gifts. | Clear, bronze, copper, black, warm metallics | Shop Cherry Pieces |
| White Oak | Clean, modern appearance with neutral colour and subtle grain. | Black, white, grey, clear, muted earth tones | Shop White Oak Pieces |
| Claro Walnut Burl | Dramatic figure and one-of-a-kind character for premium resin projects. | Clear, black, gold, pearl, colour shift pigments | Shop Claro Walnut Burl Pieces |
For a deeper comparison, read our guide to the best wood for epoxy charcuterie boards.
Common Beginner Mistakes to Avoid
- Choosing wood before choosing a mold: The wood and mold should work together.
- Not leaving enough room for resin: If the wood fills the whole mold, the epoxy may not become a design feature.
- Using too much pigment: Too much pigment can make the epoxy look muddy or hide the wood.
- Pouring without checking epoxy instructions: Always follow the product’s ratio, pour depth, and cure guidelines.
- Removing the project too early: Let the epoxy cure fully before demolding and sanding.
- Skipping sanding prep: A good finish depends on proper sanding and surface preparation.
- Using the wrong finish for the final use: Choose a finish suited to how the board will be used.
Recommended Mold Sizes for Epoxy Charcuterie Boards
For most epoxy charcuterie board projects, smaller and medium-sized molds are easier to manage than very large molds. They require less epoxy, take up less work space, and are easier to sand and finish after curing.
10" x 18" Mold
A good size for compact serving boards, charcuterie boards, and beginner-friendly epoxy projects.
Shop 10" x 18" Mold12" x 24" Mold
A versatile size for larger serving boards, trays, and projects where you want more layout room.
Shop 12" x 24" MoldRound Molds
A good choice for circular boards, decorative trays, wall art, and projects where you want a different finished shape.
Shop Round HDPE MoldsFor more details, read What Size Mold Do I Need for an Epoxy Serving Board?
Epoxy Colour Ideas
The epoxy colour should support the wood species and finished style. If the wood has dramatic grain, a simpler resin colour may work best. If the wood is more neutral, the epoxy colour can become the main design feature.
Classic Look
Use black, clear, pearl, bronze, or gold epoxy for a timeless board that works well with walnut, cherry, olive wood, and burl.
Shop Mica PigmentsBold Colour
Use blue, green, purple, red, fluorescent, or neon-style colours when you want the epoxy to stand out.
Shop Fluorescent PigmentsColour Shift Effect
Use colour-shift pigments when you want the resin to change appearance depending on the viewing angle.
Shop Colour Shift PigmentsHow to Finish the Board After Sanding
Once the board has been sanded smooth, apply a finish suited to the project. For a serving board or charcuterie board, choose a finish that is appropriate for the intended use and follow the finish manufacturer’s instructions.
Shop towels and white applicator pads can help apply oil or hardwax oil and wipe back excess product during finishing.
Grand Finishing Hardwax Oil
A popular finish option for wood projects where you want a clean, natural-looking finish.
Shop Grand Finishing Hardwax OilWypall X60 Shop Towels
Useful for wiping back finish, cleaning up during finishing, and general shop use.
Shop Wypall X60 TowelsWhite Applicator Pads
Helpful for applying oil or hardwax oil finishes evenly across the wood surface.
Shop White Applicator PadsFor more finishing help, read How to Finish a Wood and Epoxy Serving Board.
Helpful Guides to Read Next
- How to Choose Wood Pieces for Epoxy Projects
- One-of-a-Kind Wood Pieces: What to Look For Before You Buy
- Best Wood for Epoxy Charcuterie Boards
- What Size Mold Do I Need for an Epoxy Serving Board?
- Live Edge Wood for Resin Projects
- How to Finish a Wood and Epoxy Serving Board
- Wood for Epoxy Projects Hub
Start Your Epoxy Charcuterie Board Project
Choose a one-of-a-kind wood piece, match it with the right reusable HDPE mold, add your epoxy and pigment, then sand and finish the board for your final project.