How to Finish a Wood and Epoxy Serving Board
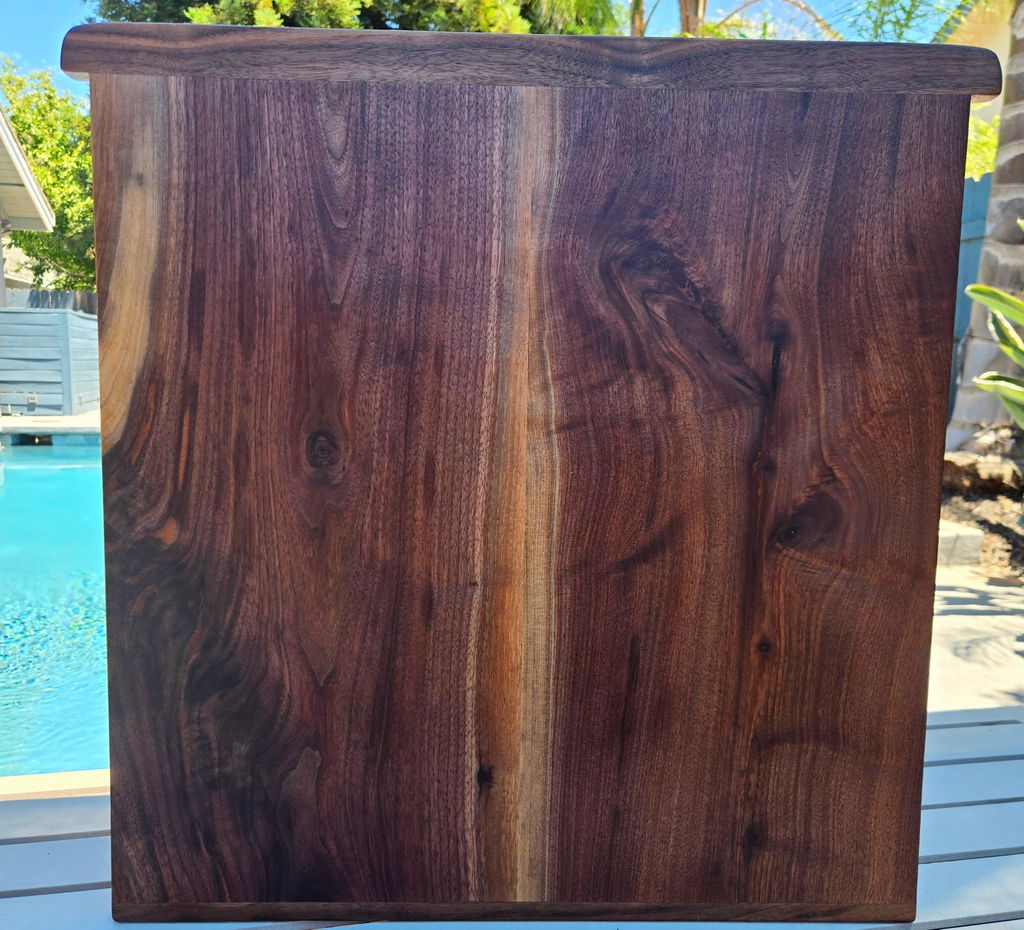
Finishing a wood and epoxy serving board is what turns a cured resin project into a smooth, usable, professional-looking piece. After the pour cures, the board usually needs to be removed from the mold, trimmed, flattened, sanded, cleaned, and finished with a product suited to the final use.
This guide covers the main finishing steps for epoxy charcuterie boards, serving boards, resin trays, and small wood and epoxy projects.
Watch: Finishing a Wood and Epoxy Project
This video is a helpful reference for understanding how sanding and finishing can bring a wood and epoxy project to life.
Before You Start Finishing
Always allow the epoxy to cure fully before removing the project from the mold, trimming, sanding, or applying finish. Cure time depends on the epoxy product, pour depth, room temperature, and project conditions. Follow the epoxy manufacturer’s instructions first.
For serving boards and charcuterie boards, choose a finish that is appropriate for the intended use of the finished board and follow the finish manufacturer’s instructions carefully.
Supplies for Finishing a Wood and Epoxy Board
The exact supplies depend on your project, but most wood and epoxy boards require sanding supplies, finishing products, applicator pads, and clean shop towels.
Sanding Supplies
Sanding helps level the wood and epoxy, remove scratches, and prepare the surface for the final finish.
Shop Sanding SuppliesGrand Finishing Hardwax Oil
A popular finish option for wood projects where you want a clean, natural-looking result.
Shop Grand Finishing Hardwax OilRubio Monocoat
A well-known finishing option for tables, furniture, and wood projects where a durable oil finish is desired.
Shop Rubio MonocoatWalrus Oil
A finishing option often used by makers for cutting boards, serving boards, and smaller woodworking projects.
Shop Walrus OilWypall X60 Shop Towels
Useful for wiping back finish, cleaning the surface, and general shop use during finishing.
Shop Wypall X60 TowelsWhite Applicator Pads
Helpful for applying oil and hardwax oil finishes evenly across the surface.
Shop White Applicator PadsStep-by-Step: How to Finish a Wood and Epoxy Serving Board
Step 1: Let the Epoxy Cure Fully
Do not rush the finishing process. The epoxy should be fully cured before the board is removed from the mold, trimmed, flattened, or sanded. If the epoxy is still soft, sanding can create surface problems and the board may not finish properly.
Check the instructions for the epoxy product you used and allow enough cure time based on the pour depth and room conditions.
Step 2: Remove the Board From the Mold
Once cured, carefully remove the board from the mold. Reusable HDPE molds are popular for epoxy boards because they help create a controlled shape and can be used again for future projects.
If the edges need cleanup after demolding, plan to trim, scrape, or sand them as part of the finishing process.
Step 3: Trim or Shape the Board
Depending on the project, you may need to trim the edges, square up the board, round corners, shape handles, or clean up the final outline. This is where the board starts to become the final project rather than just a cured epoxy pour.
Make sure the final shape is comfortable for the way the board will be used.
Step 4: Flatten or Level the Surface
Many epoxy projects need some amount of flattening or leveling after curing. The goal is to bring the wood and resin to an even surface before final sanding.
If the board has high spots, uneven epoxy, or wood movement, flattening may be needed before moving into finer sanding grits.
Step 5: Sand Through the Grits
Sanding is one of the most important steps in finishing a wood and epoxy board. Start with the grit needed to level the surface and remove scratches, then progress through finer grits to prepare the wood for finish.
For many serving board projects, makers commonly move through grits such as 80, 120, 150, 180, and 220 before finishing. The exact progression depends on the surface condition, epoxy, wood species, and final finish you plan to use.
Step 6: Ease the Edges
Sharp edges can make a serving board uncomfortable to handle. After the board is shaped and sanded, ease the edges by sanding or rounding them over depending on your tools and design.
This step makes the finished board feel better in the hand and gives it a more professional look.
Step 7: Clean the Surface
Before applying finish, remove dust from the wood and epoxy surface. A clean surface helps the finish apply more evenly and reduces the chance of dust getting trapped in the final coat.
Use clean shop towels and make sure the board is ready before opening and applying your finish.
Step 8: Apply the Finish
Apply your chosen finish according to the product instructions. Hardwax oil, board oil, and other wood finishes may have different application methods, cure times, wipe-back requirements, and care instructions.
White applicator pads can help spread oil or hardwax oil evenly across the surface. Clean shop towels are useful for wiping back excess finish where required.
Step 9: Let the Finish Cure
After applying finish, allow the board to cure before use. Cure time depends on the finish, room conditions, application amount, and product instructions.
A board may feel dry before the finish has fully cured, so avoid heavy use until the finish has had enough time to set properly.
Step 10: Care for the Finished Board
Care instructions depend on the finish used and the intended use of the board. In general, wood and epoxy serving boards should be cleaned gently, kept out of the dishwasher, and maintained with the appropriate finishing product when needed.
Do not soak a wood and epoxy board in water. Treat it like a handmade wood serving piece rather than a plastic cutting board.
Recommended Sanding Progression
A good sanding progression depends on the project, but most boards need to move gradually from coarse sanding to finer sanding. Skipping too far between grits can leave scratches that show up after finish is applied.
| Grit | Purpose | Notes |
|---|---|---|
| 80 Grit | Initial leveling and removing heavier scratches or uneven areas. | Use carefully so you do not create deep scratches that are hard to remove later. |
| 120 Grit | Removes coarse sanding marks and begins smoothing the surface. | Make sure scratches from the previous grit are removed before moving on. |
| 150 Grit | Intermediate sanding step for a smoother finish. | Helpful for gradually refining the wood and epoxy surface. |
| 180 Grit | Pre-finish sanding stage for many wood projects. | Inspect the surface carefully before moving to final sanding. |
| 220 Grit | Final sanding before many oil or hardwax oil finishes. | Always follow the finish manufacturer’s sanding recommendations. |
Do Not Skip Surface Prep
Many finishing problems come from poor surface prep, not the finish itself. Deep scratches, uneven sanding, dust, uncured epoxy, or excess finish left on the surface can all affect the final result.
Take your time during sanding and cleaning. The better the surface is before finishing, the better the finished board will usually look.
Choosing a Finish for a Wood and Epoxy Serving Board
The best finish depends on the final use of the board. A decorative wall art piece, a serving board, and a cutting board may all need different finishing decisions.
For serving boards and charcuterie boards, use a finish that is appropriate for the intended use and follow the finish manufacturer’s instructions for application, cure time, and care.
Grand Finishing Hardwax Oil
A good option for many wood projects where you want a natural-looking finish and a simple application process.
Shop Grand Finishing Hardwax OilRubio Monocoat
A popular oil finish for furniture, tables, and woodworking projects where durability and appearance are important.
Shop Rubio MonocoatWalrus Oil
A popular choice among makers for smaller woodworking projects, boards, and handmade pieces.
Shop Walrus OilYou can also browse our food-safe finish options.
Finish Application Tips
- Read the finish instructions before applying.
- Sand the board evenly before finishing.
- Remove sanding dust from the surface.
- Use an applicator pad to spread the finish evenly where appropriate.
- Use clean shop towels to wipe back excess finish if the product requires it.
- Do not leave heavy pools of finish on the epoxy surface.
- Allow the finish to cure before using the board.
- Follow the product’s care and maintenance instructions.
Common Finishing Mistakes
| Mistake | Why It Matters | Better Approach |
|---|---|---|
| Sanding too quickly | Scratches from earlier grits can show after finish is applied. | Move through the grits carefully and inspect the surface as you go. |
| Skipping grits | Large jumps between grits can leave visible scratch patterns. | Use a steady progression such as 80, 120, 150, 180, and 220 when appropriate. |
| Applying finish over dust | Dust can become trapped and create a rough or uneven surface. | Clean the board thoroughly before finishing. |
| Leaving too much finish on the surface | Some oil and hardwax oil finishes need to be wiped back properly. | Follow the finish instructions and wipe back excess product when required. |
| Using the board too soon | The finish may feel dry before it has fully cured. | Allow the finish to cure before regular use. |
| Putting the board in the dishwasher | Heat, water, and detergent can damage wood serving boards. | Clean gently by hand and avoid soaking. |
Finishing Starts Before the Pour
The easiest boards to finish are usually the ones that were planned well from the beginning. Choosing the right wood piece, leaving enough room in the mold, using the correct epoxy, and creating a clean layout can make sanding and finishing much easier later.
For help choosing the right wood before you start, read How to Choose Wood Pieces for Epoxy Projects.
Helpful Products for Finishing
Sia Sanding Discs
Use sanding discs to move through your sanding progression and prepare the board for finish.
Shop Sia Sanding DiscsWypall X60 Towels
Useful for cleaning, wiping back finish, and general finishing work in the shop.
Shop Wypall X60 TowelsWhite Applicator Pads
Helpful for applying oil or hardwax oil finishes evenly across the board.
Shop White Applicator PadsHelpful Guides to Read Next
Get the Supplies to Finish Your Board
Sand, clean, and finish your wood and epoxy serving board with the right sanding supplies, shop towels, applicator pads, and wood finish.