How To : Templates
What we Discuss:
- What Router Bits to use
- Attaching to your project
- Depth to Route to
- Wood vs Epoxy inlay
- Troubleshooting Issues that could arise
- Ways to get creative
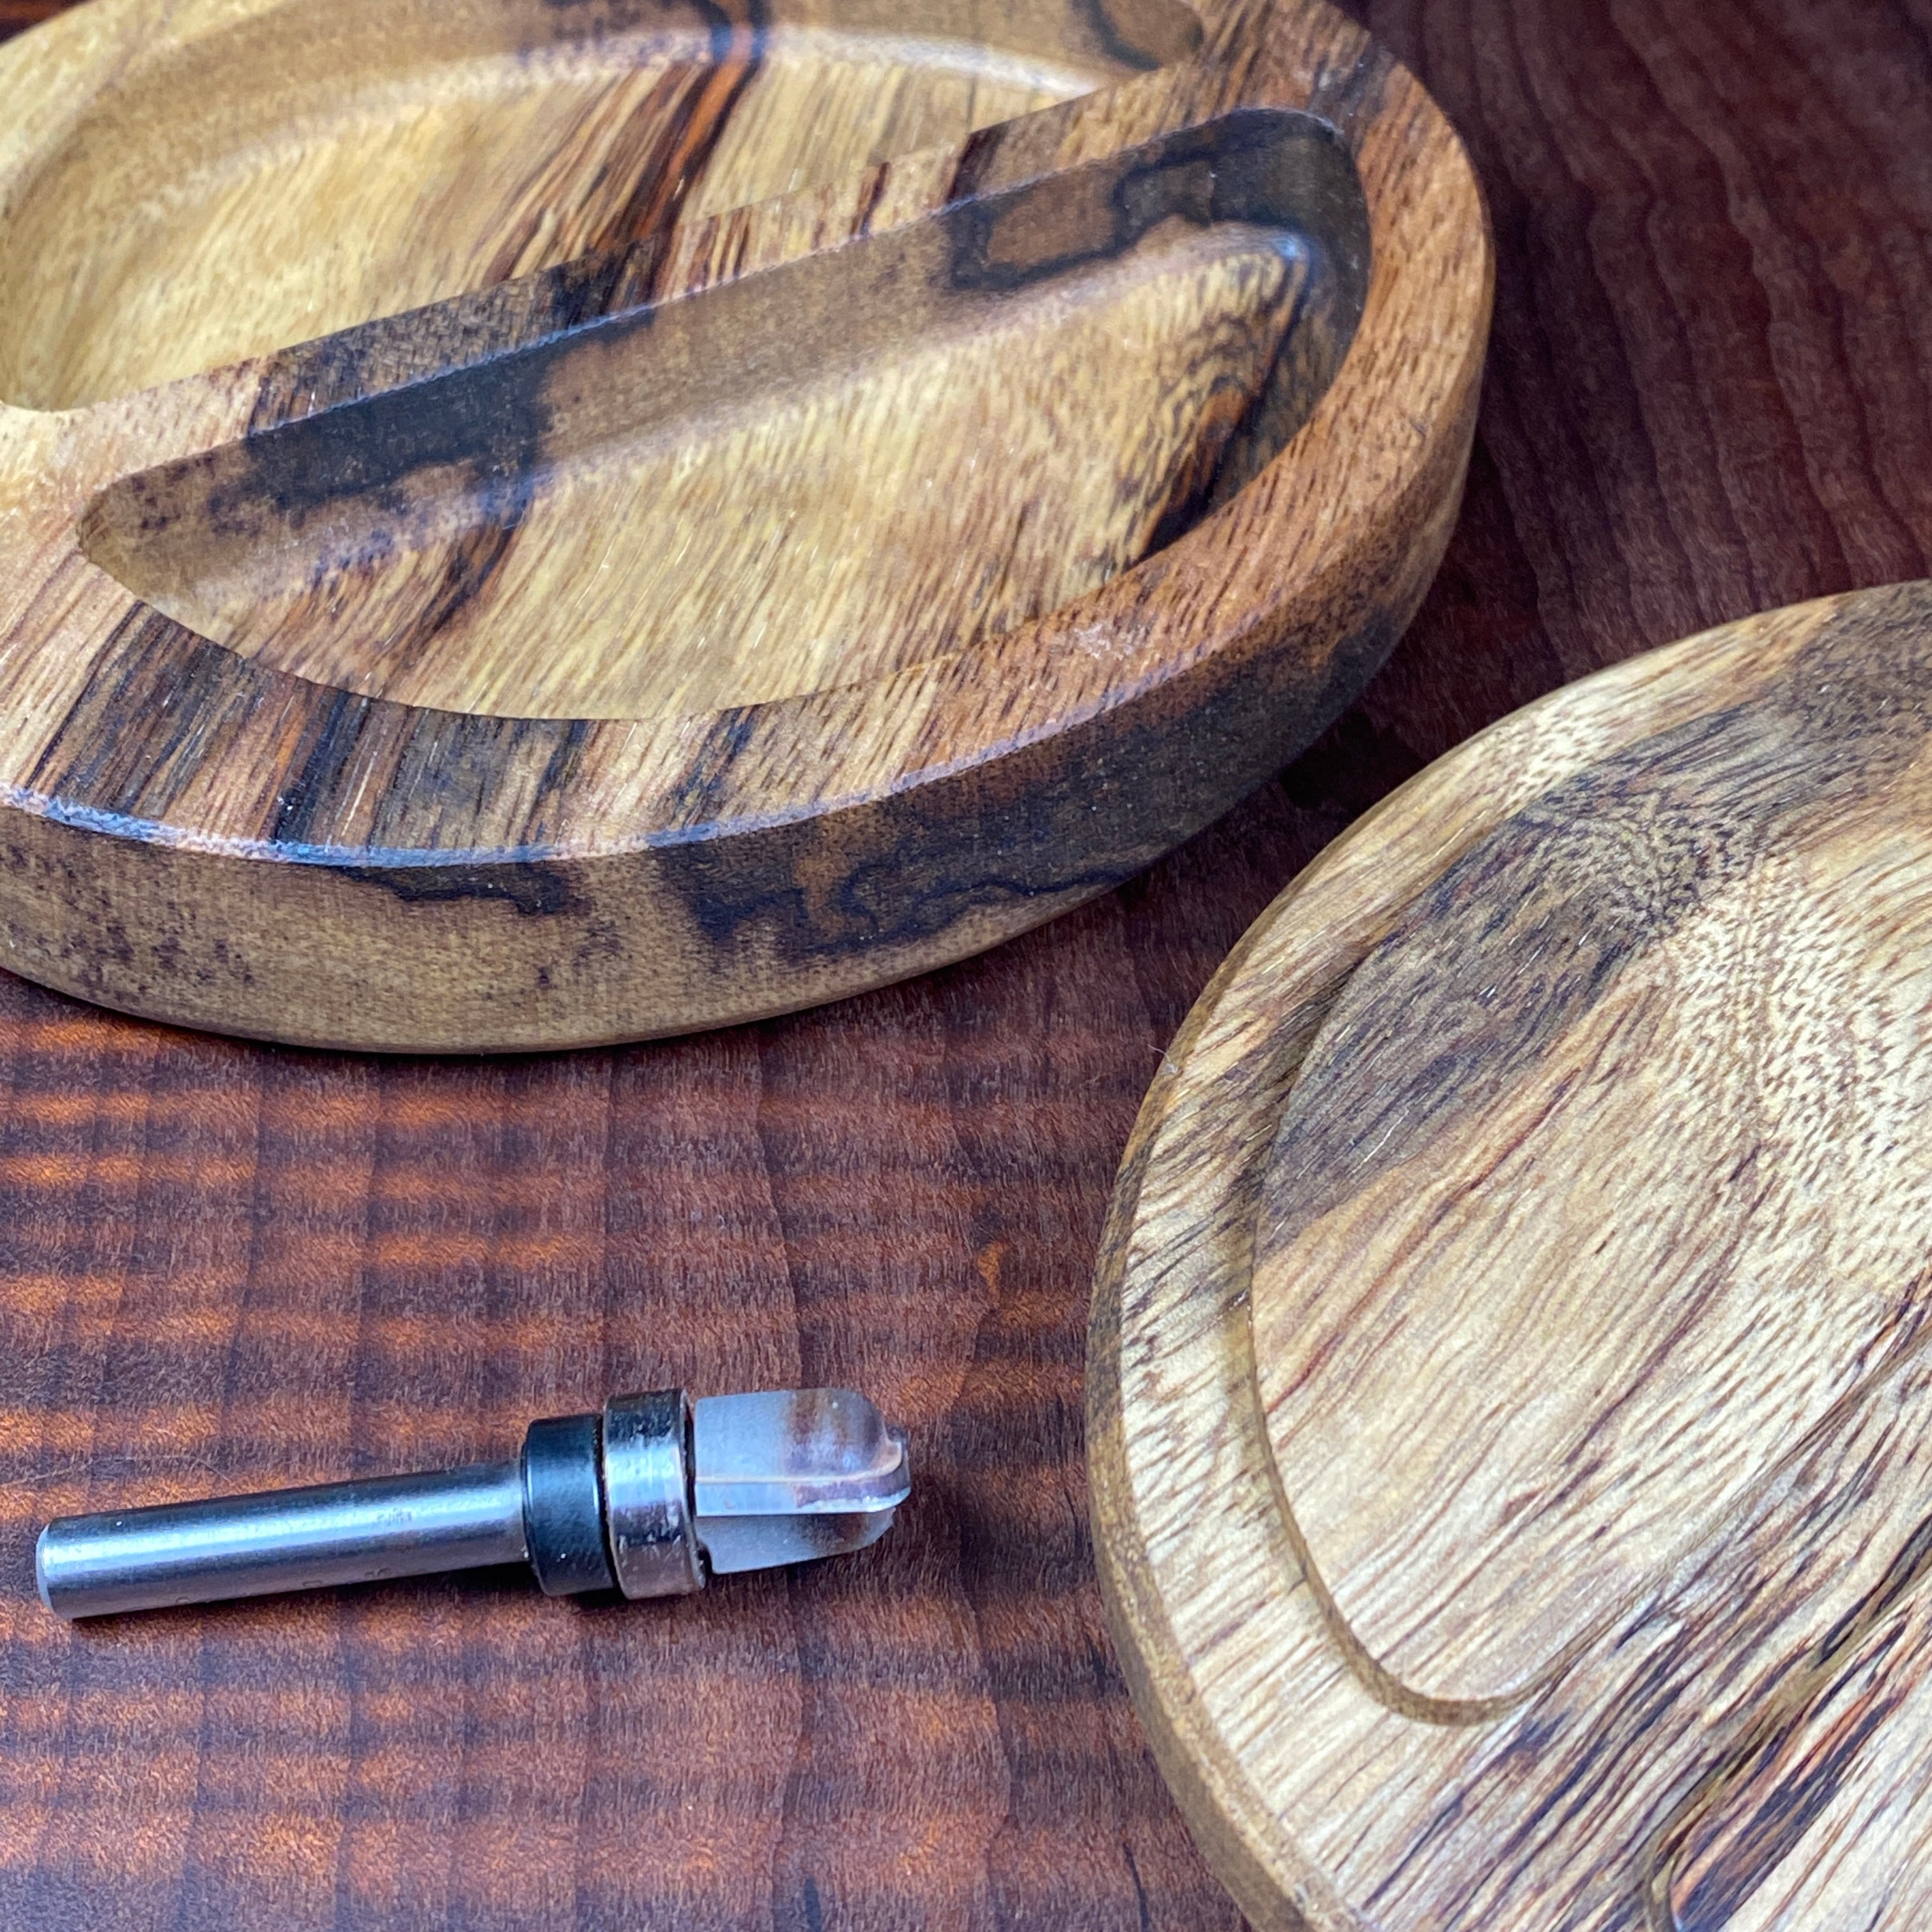
This Black Limba Oval Salt Cellar was made with a 1/8" router bit that can be Purchased Here
Router Bits:
We find when pocketing with our templates it is important to make sure you have the right bit when getting into the small detail areas of the template.
We use these bits for the following:
- This Router Bit is for flush trimming and profiles
- This Router Bit is for any inlay templates and pocketing
- These two Router bits Here and Here are for pocketing out Trays + Dishes
We use these two bits for all of our templates. If you find they aren't working, make sure you don't have a bushing bit on your router or that the bearing isn't getting in the way.
Two ways of attaching your Template to your project
Materials you will need:
- Painters Tape
- Akfix 705
- Router
1. Apply painters tape in a few spots on the wood. Make sure you attach the tape in multiple spots around the board.
2. Attach tape in matching spots on the clear acrylic template
3. Apply several drops of the 705 glue on the tape that is attached to the wood
4. Spray the 705 Activator on the tape that is attached to the acrylic template
5. Press the acrylic template on the wood and hold in place for a few seconds
6. Use your router to pocket or cut out the details
7. Peel off the template and remove tape
8. San and Oil
Video Link HERE and HERE and HERE
Materials you will need:
- Double Sided Tape
- Clamps
- Router
- Jig saw / Band saw
1. Tape the template down to your wood
2. Use a flush trim router bit to cut the profile and then use a jig saw or band saw to cut close to your final size
3. Use a flush trim bit with a router or router table to finish the profile cutting.
4. Sand and oil
Video Link HERE and HERE and HERE
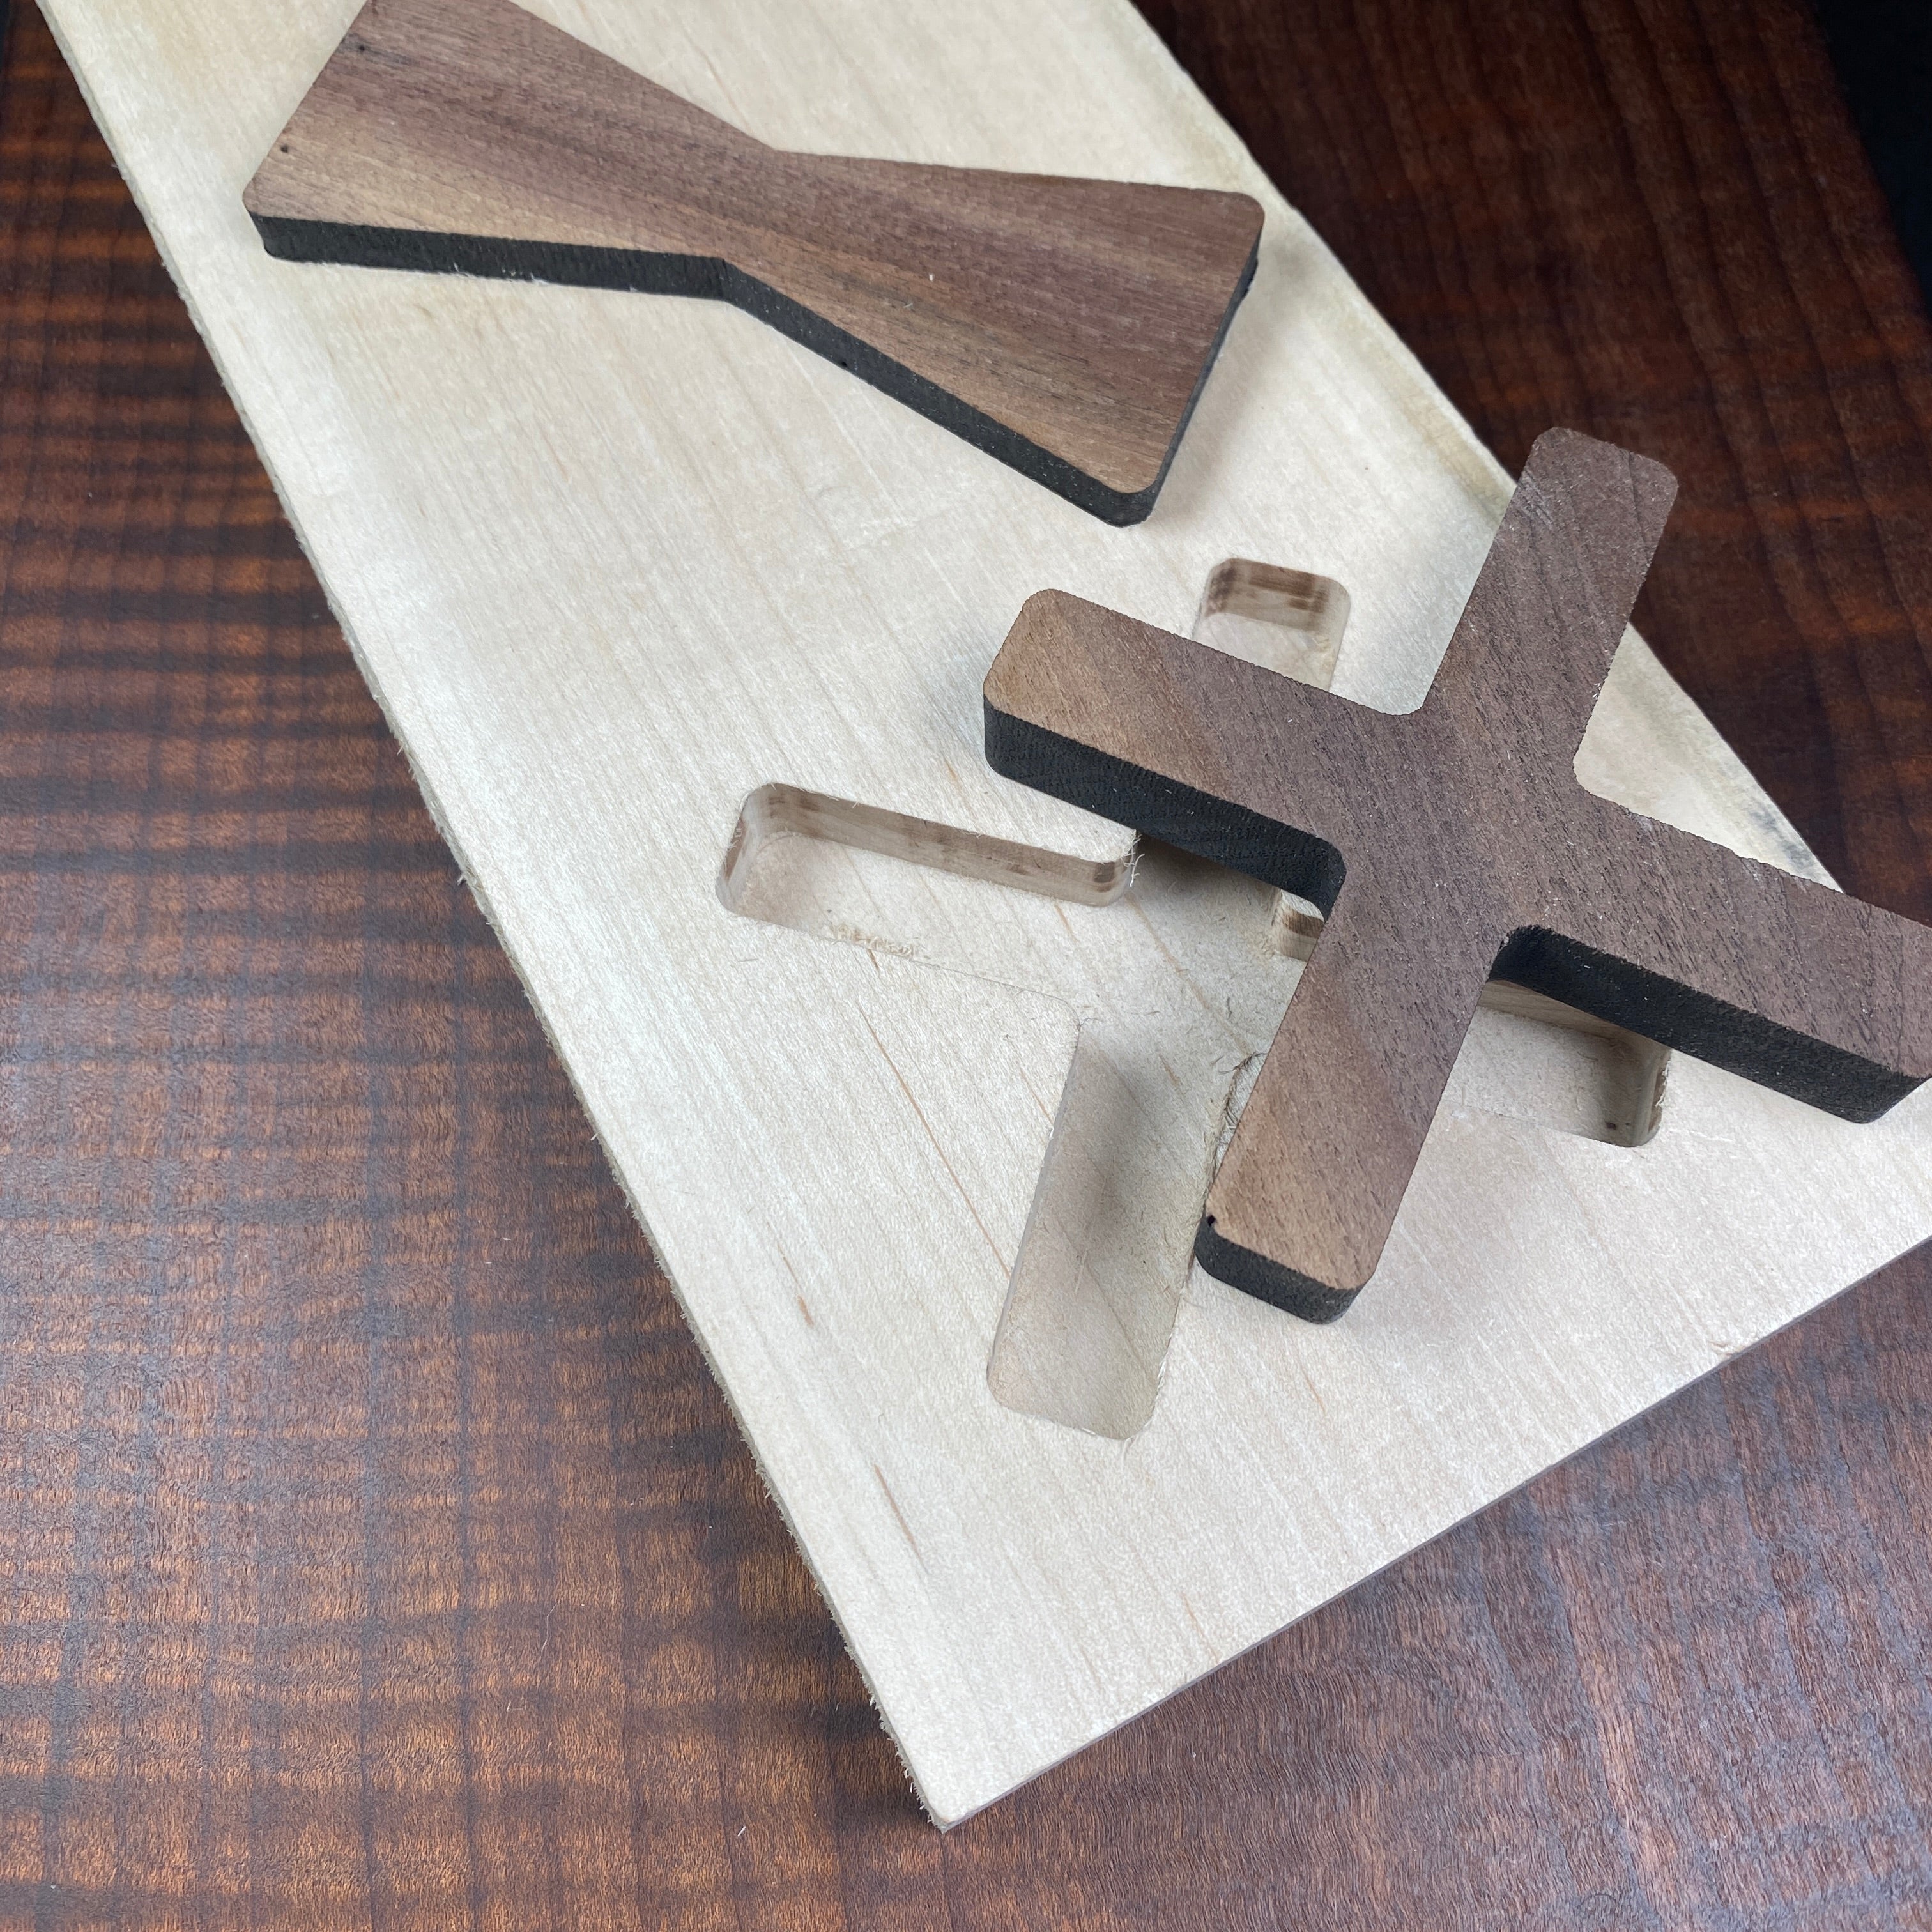
Made with our Bow Tie Series Templates
Depth to Route to
After securing your template to your wood, we typically route 1/4" deep when filing your design with resin. We recommend either Squid Clear Fast or West System
Depending on your Router Tools size / power, we suggest to start at a depth of 1/8". Turn your router speed slower when you are going through hardwoods and faster when going through soft woods to avoid tear out.

Buy this template HERE
Wood vs Epoxy inlay
Epoxy Inlay:
1. After attaching your template, route out the area that you would like to fill in with resin.
2. Use a shallow pour resin to fill the area (We suggest West System or Clear Fast)
3. Sand and oil
Watch a Video Here
Wood Inlay:
Wood inlays are a lot more intricate and can be more complicated if your template has small detailed areas.
1. Use the exterior of your template to hog out where you will put the wood inlay
2. Use the interior of your template to cut the profile
3. Glue and use a hard mallet to tap profile into place
4. Sand and oil
Watch a Video Here
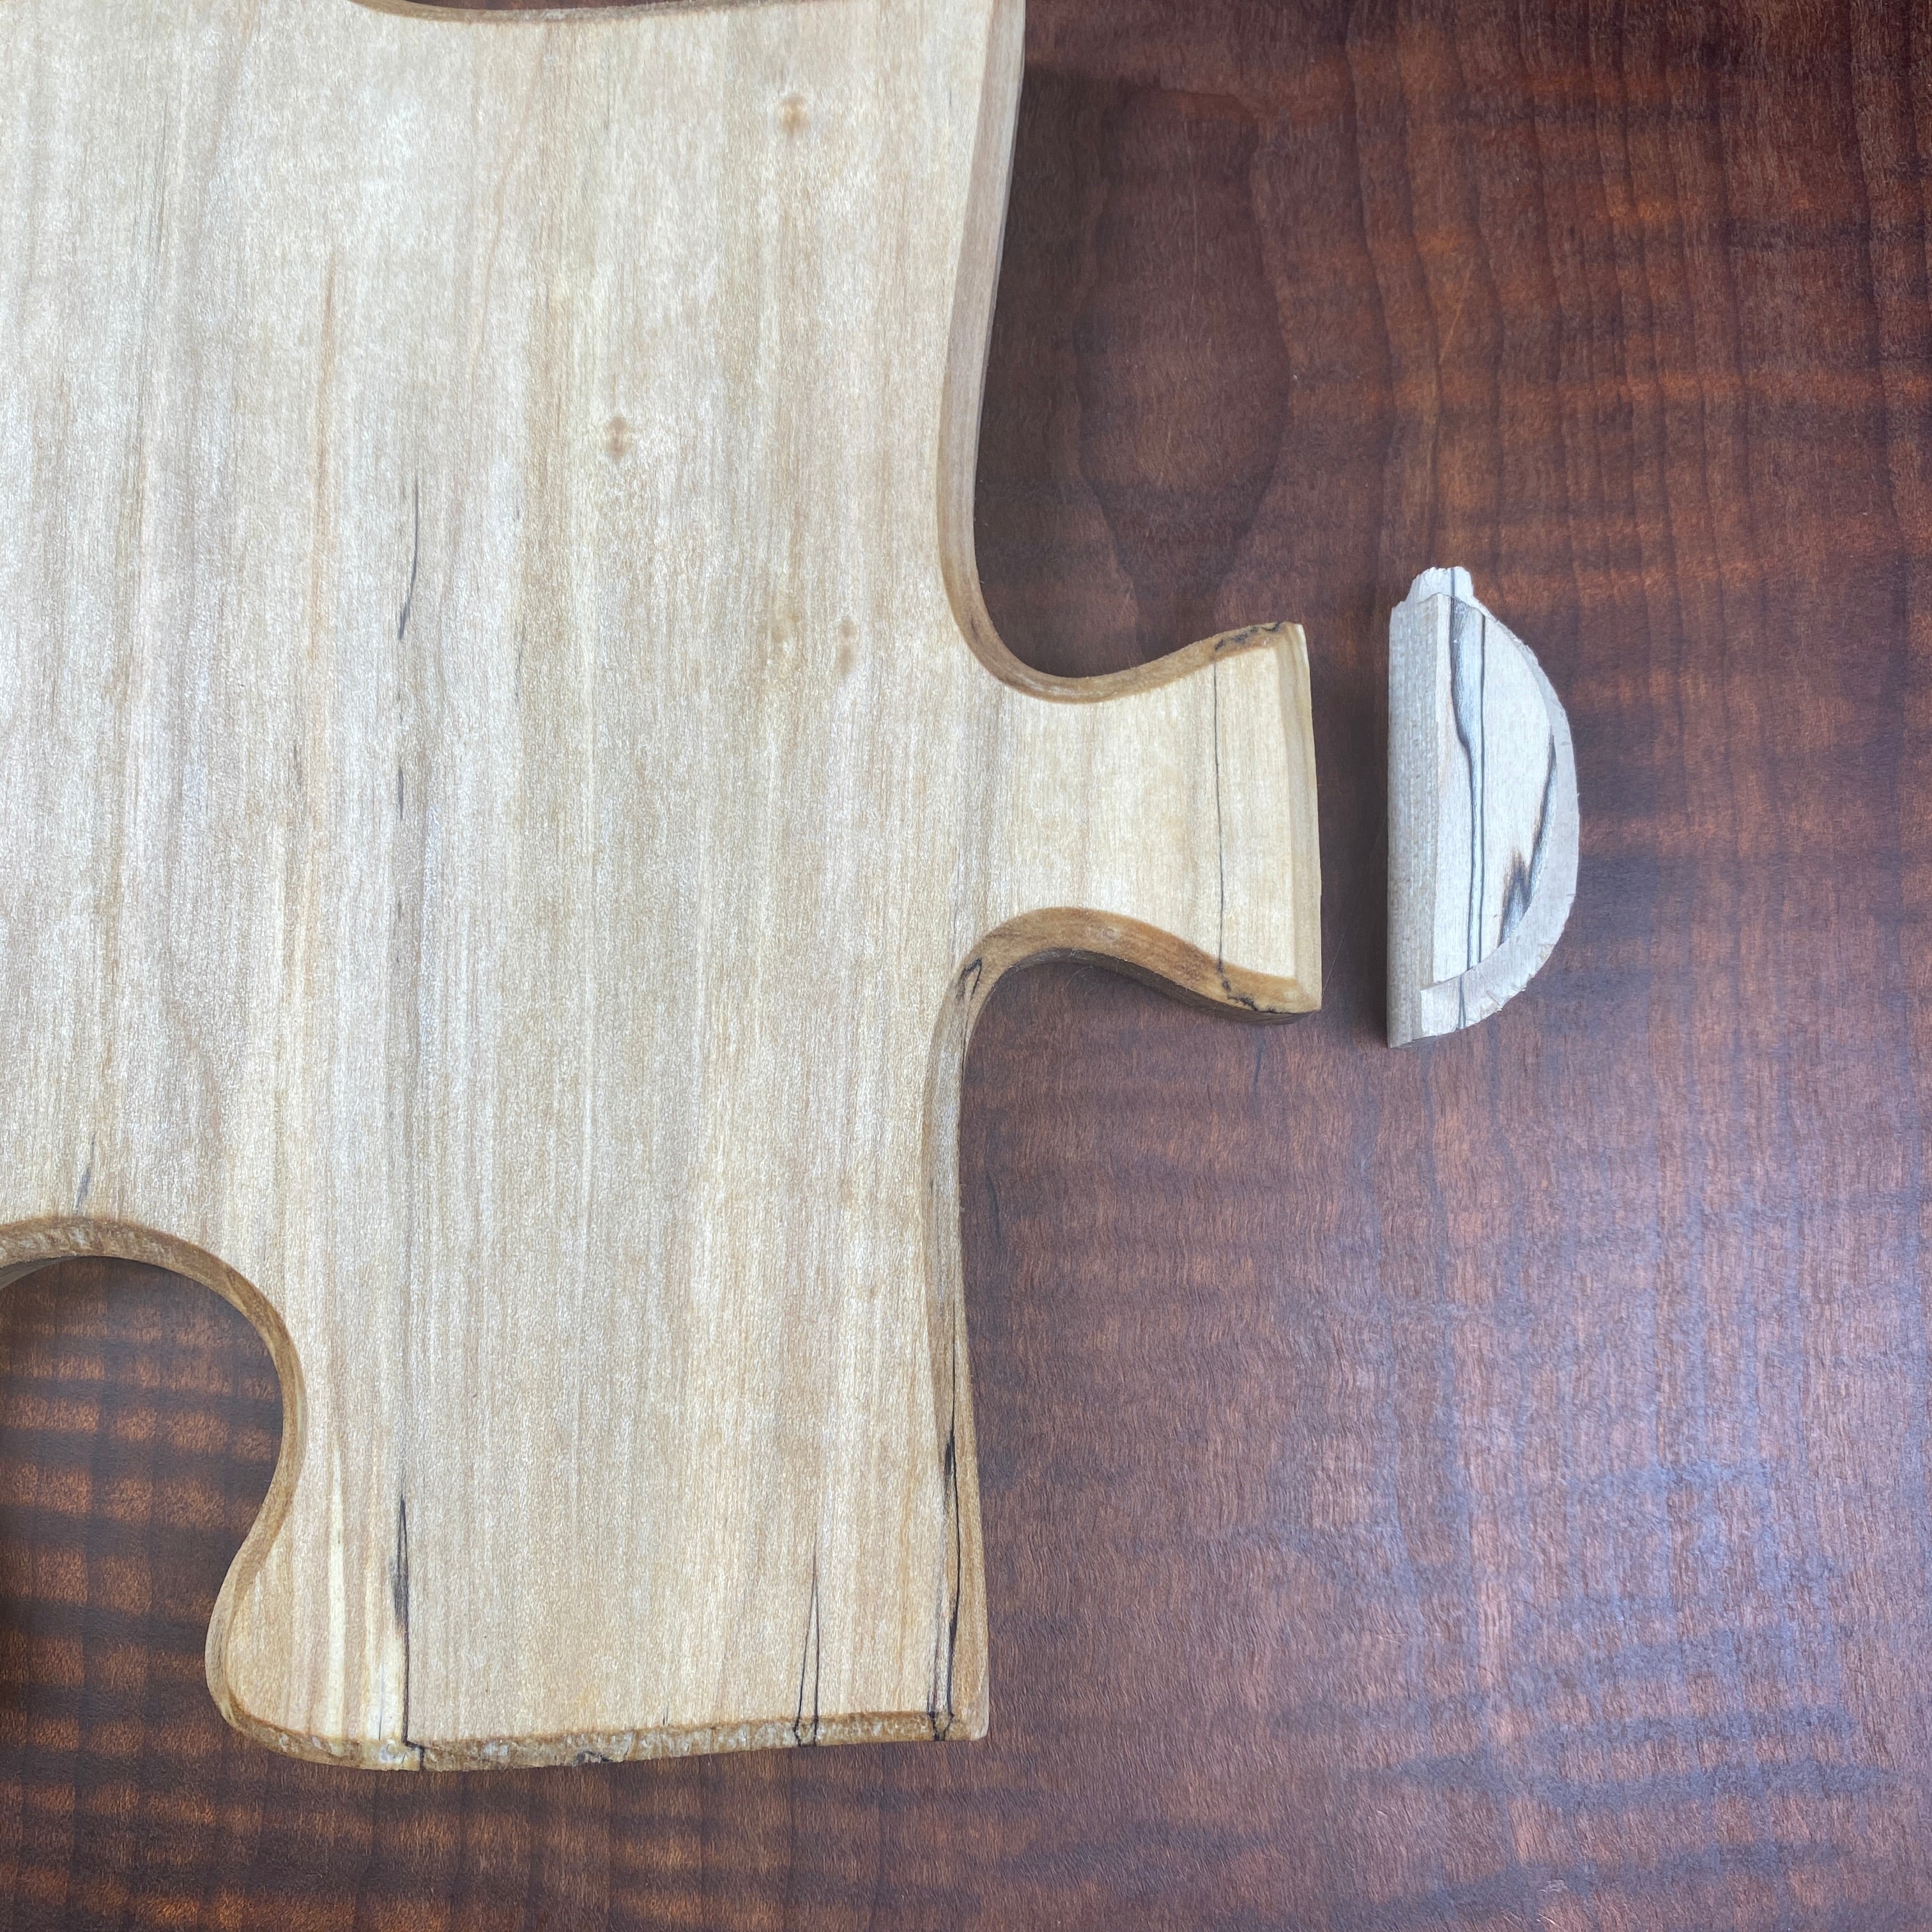
Broken Off pieces can always be fixed. with a quick set adhesive such as Akfix 705
Troubleshooting Issues that Could Arise
- When placing your template on your wood you want to consider grain direction and once the design is cut what weak points may develop.
- Using the wrong bit or going to deep when hogging out a large area in your template can cause burn marks in your wood. Remember to be patient and follow the steps we have given you above in order to have a successful project.

Step up your Charcuterie game and buy accessories Here
Get Creative!
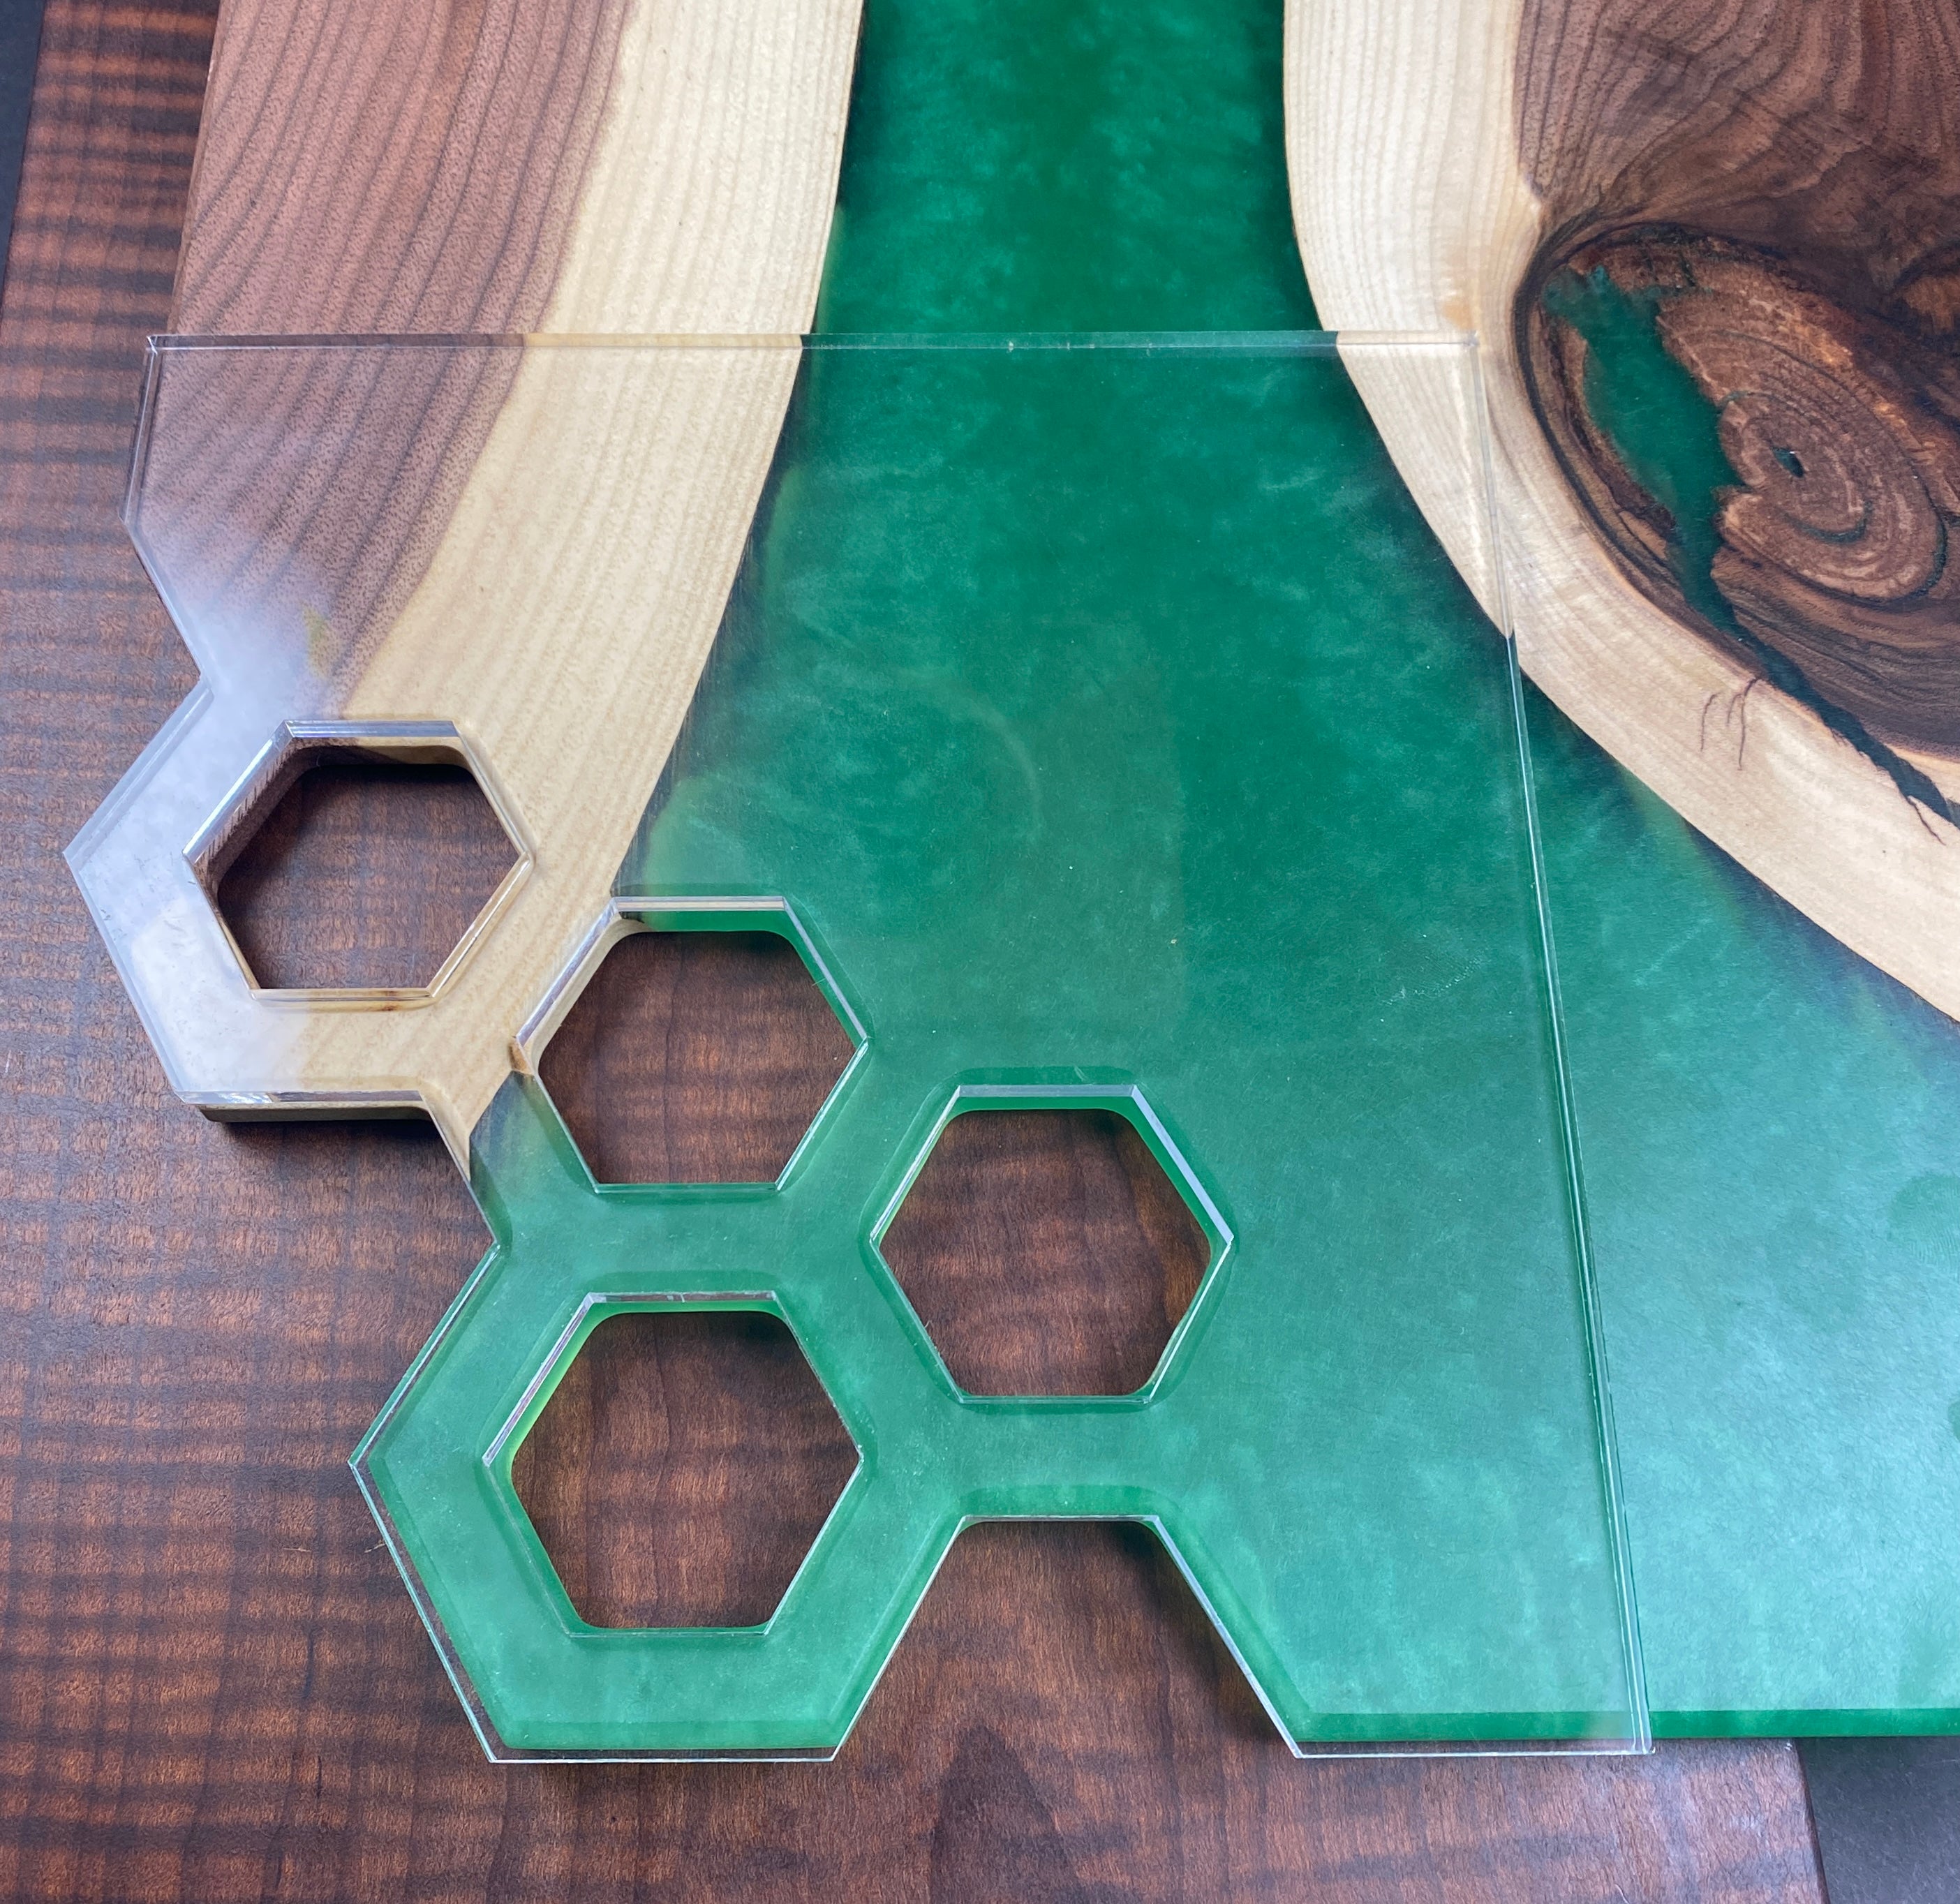
In this photo you can see we used our Corner Charcuterie Board Handle template and elongated some sections to get the most out of this board and eliminate waste. Our templates can be a guide for you to play with
Watch the video of how we made this board Here
Where to buy your templates:
Choose from 100+ templates options all at a reasonable price at JeffMackSupply.com or EmpireMolds.com
