Live Edge Slab Guide
Bow Tie Inlays for Live Edge Slabs
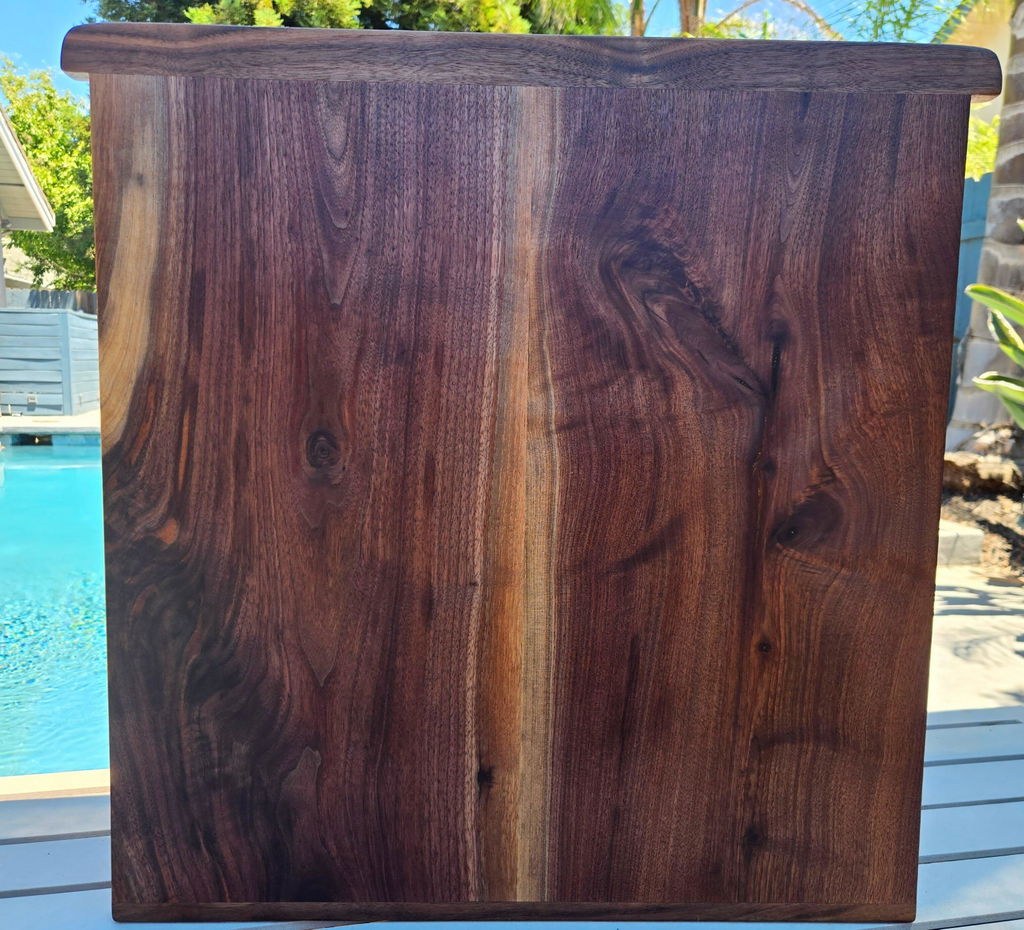
Bow tie inlays are one of the most popular ways to add character, contrast, and craftsmanship to live edge slabs. They are often used across cracks, checks, knots, seams, and natural openings to turn movement in the wood into an intentional design feature.
This guide explains when to use bow tie inlays on live edge slabs, how to think about placement, what supplies you need, and why pre-cut laser bow tie inlays are a great option if you are new to the process.
Quick Answer
Bow tie inlays are used on live edge slabs to add a decorative feature across cracks, checks, seams, or natural openings in the wood. They are commonly used on dining tables, coffee tables, desks, benches, charcuterie boards, and epoxy slab projects.
For the easiest setup, use a clear acrylic bow tie router template, secure it with template tape, route the pocket with the recommended router bits, and install pre-cut laser bow tie inlays if you want a beginner-friendly option.
Why Live Edge Slabs Get Cracks and Checks
Live edge slabs are natural pieces of wood, and cracks, checks, knots, voids, and movement are part of what gives them character. Even properly dried slabs can have natural openings or visual features that become part of the final design.
Bow tie inlays give woodworkers a way to highlight those natural features instead of hiding them. A well-placed bow tie can make a crack feel intentional, add contrast, and give the finished slab a more custom look.
What Do Bow Tie Inlays Do on a Slab?
Bow tie inlays are often used for both design and reinforcement. In many slab projects, they are placed across a crack, check, or seam to create a visual bridge across the opening.
Add Visual Contrast
A contrasting wood species like maple, walnut, or padauk can make the bow tie stand out as a feature.
Highlight Natural Character
Instead of trying to hide cracks or checks, bow ties make them look intentional and handcrafted.
Create a Custom Detail
Bow ties give slabs, tables, and serving boards a more finished and custom-made appearance.
Decorative vs Structural Bow Tie Inlays
Bow tie inlays can help bridge a crack or check, but they should not be treated as a cure-all for unstable wood. If a slab has major movement, deep structural problems, moisture issues, or an active crack that continues to move, the slab itself needs to be properly assessed before adding inlays.
For most woodworking projects, bow ties are best understood as a combination of decorative detail and localized reinforcement. They are a great way to make natural slab character look intentional, but good slab selection, proper drying, flattening, finishing, and table support still matter.
Where Should You Place Bow Ties on a Live Edge Slab?
Placement is one of the biggest things that affects how natural the finished slab looks. Bow ties should feel intentional, not randomly scattered across the surface.
Across Cracks or Checks
Place the bow tie so it visually bridges the crack, usually with the narrow center crossing the opening.
Near Natural Features
Bow ties can look great near knots, seams, crotch figure, and natural openings where the slab already has character.
Balanced Across the Piece
Think about the full slab, not just one crack. The bow ties should work with the overall shape and grain.
How Many Bow Ties Should You Use?
There is no single rule for how many bow ties a slab needs. It depends on the size of the slab, the size of the crack, the visual style you want, and whether the bow ties are being used mostly as a design feature or to help bridge a specific opening.
A small charcuterie board may only need one small bow tie. A large dining table slab may look better with two or three bow ties placed along a longer crack. The goal is to make the design feel balanced and intentional.
Tip: Before routing, place the template on the slab and step back. Look at the full piece from different angles. If the bow tie feels forced or distracting, try a different size, shape, or location.
Best Wood Species for Bow Tie Inlays
The best wood for a bow tie inlay depends on the look you want. Some woodworkers prefer strong contrast, while others want the inlay to blend in more subtly.
Walnut Bow Tie Inlays
Walnut is a classic choice for lighter woods because it adds dark contrast without looking overly bright.
Curly Maple Bow Tie Inlays
Curly maple works well when you want a lighter inlay with figure, shimmer, and a refined look.
Padauk Bow Tie Inlays
Padauk creates a bold colour contrast and works well when the inlay is meant to stand out.
If you are new to the process, our laser cut bow tie inlays are a simpler option than making each inlay from scratch.
Matching vs Contrasting Bow Tie Inlays
A contrasting bow tie inlay makes the detail stand out. This is usually the best choice if you want the bow tie to become a visible part of the design.
A matching or similar wood species creates a quieter look. This can be a good choice when you want to keep the focus on the slab itself rather than the inlay.
Can You Use Bow Tie Inlays with Epoxy Slab Projects?
Yes. Bow tie inlays can be used on wood and epoxy projects, including river tables, slab coffee tables, serving boards, and mixed material pieces. In many projects, the bow tie adds a wood detail while the epoxy fills larger voids or creates a resin feature.
Plan the order of your work before you start. Depending on the project, you may want to route and install the bow ties before final sanding and finishing, while leaving enough time for any epoxy work, flattening, sanding, and finish coats.
Tools and Supplies for Bow Tie Inlays
To install bow tie inlays into a live edge slab, you will need a template, template tape, router bits, inlays, glue, sanding supplies, and a finish.
Used to route the bow tie pocket into the slab.
Shop Bow Tie Templates → Laser Cut Bow Tie Inlays
A beginner-friendly option for cleaner, more consistent inlay shapes.
Shop Bow Tie Inlays → Template Tape
Helps secure the acrylic template while routing.
Shop Template Tape →
Recommended Router Bits
For the cleanest results, use the proper router bits for each part of the bow tie inlay process.
Pocket the Main Area
Use this carbide tipped flush trim plunge bit to remove the majority of the material inside the bow tie inlay pocket.
Shop Pocketing Bit →Clean Up Tight Details
Use this smaller miniature flush trim plunge bit to reach tighter corners and detailed areas of the template.
Shop Detail Bit →Make Your Own Inlays
Use this UltraTrim spiral flush trim bit if you want to make your own bow tie inlays from scratch.
Shop Flush Trim Bit →Basic Process for Adding Bow Ties to a Slab
- Choose the crack, check, seam, or design area where you want the bow tie.
- Place the clear acrylic template on the slab and adjust the position until it looks balanced.
- Secure the template with template tape.
- Set your router depth based on the thickness of the inlay.
- Pocket out the main area with the larger router bit.
- Clean up tighter details with the smaller router bit.
- Test fit the inlay before adding glue.
- Glue the inlay into the pocket and allow it to cure.
- Sand the inlay flush with the slab surface.
- Finish the slab with your preferred wood finish.
If you are new to bow ties, we recommend starting with laser cut bow tie inlays instead of making your own inlays from scratch.
Common Slab Bow Tie Mistakes to Avoid
Using Too Many Bow Ties
Too many inlays can make the slab feel busy. Use enough to support the design without overwhelming the wood.
Poor Placement
Place bow ties where they make visual sense. They should relate to the crack, grain, or natural movement in the slab.
Template Movement
If the template shifts while routing, the pocket can become uneven. Secure the template before cutting.
Skipping a Test Cut
Test the process on scrap wood before routing into your slab, especially if it is your first time.
Shop Bow Tie Inlay Supplies for Slabs
These are the main products we recommend for adding bow tie and butterfly inlays to live edge slabs, tables, boards, and furniture projects.
Bow Tie Inlays for Live Edge Slabs FAQ
Why are bow ties used on live edge slabs?
Bow ties are used on live edge slabs to add detail across cracks, checks, seams, and natural openings. They can help create a more intentional, custom look.
Are bow tie inlays structural or decorative?
Bow tie inlays can provide localized reinforcement, but they are often used as both a design detail and a way to bridge a crack visually. They should not be treated as a fix for an unstable slab.
How many bow ties should I use on a slab?
It depends on the size of the slab, the size of the crack, and the look you want. A small board may only need one, while a larger slab table may use two or three along a longer crack.
What wood is best for bow tie inlays?
Walnut, curly maple, and padauk are popular options. Walnut gives a classic dark contrast, curly maple creates a lighter figured look, and padauk adds a bold colour accent.
Can beginners add bow ties to a slab?
Yes, but beginners should test on scrap wood first and consider using laser cut bow tie inlays instead of making the inlays from scratch.
Add Clean Bow Tie Details to Your Next Slab Project
Use a clear acrylic bow tie template, secure it with template tape, route the pocket with the right router bits, and install laser cut bow tie inlays for a cleaner, beginner-friendly setup.