Router Template Troubleshooting
Common Bow Tie Inlay Mistakes to Avoid
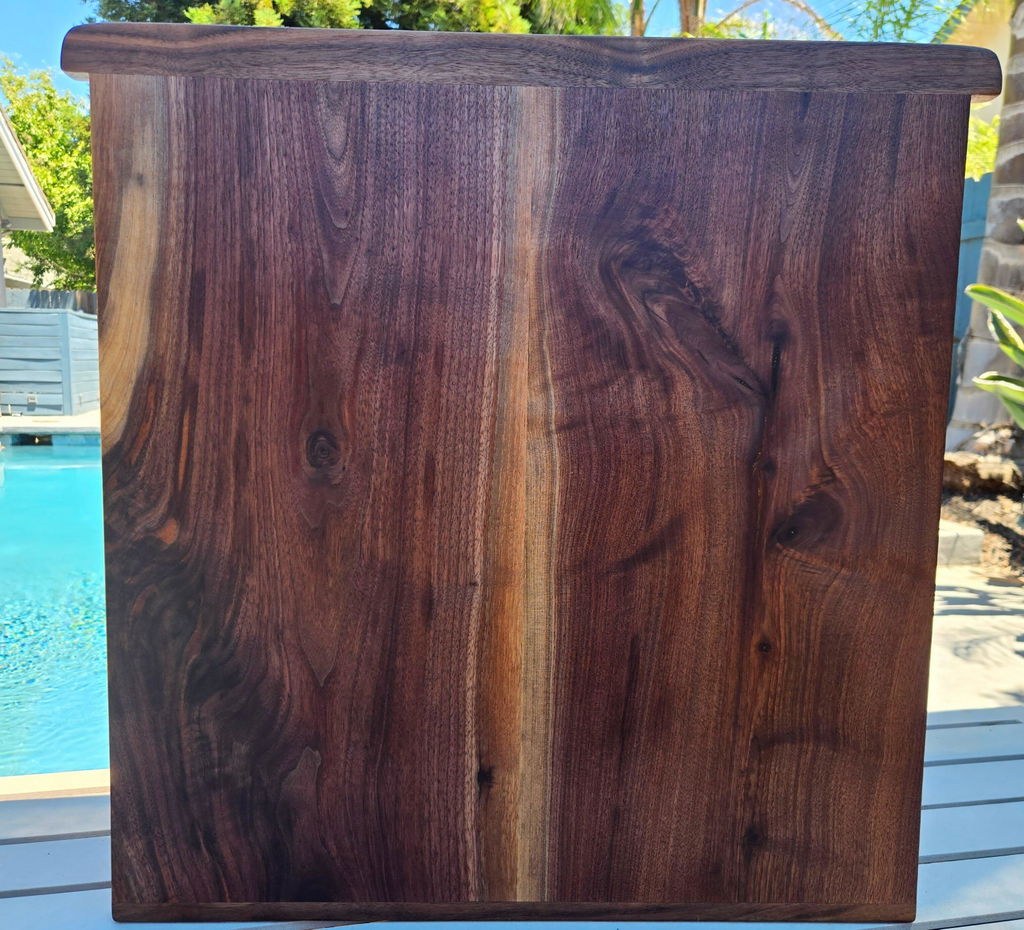
Bow tie inlays can add beautiful detail to live edge slabs, tables, charcuterie boards, serving boards, and custom furniture projects. But like any router template project, small mistakes can lead to gaps, tearout, poor fit, or an inlay that does not sit cleanly in the pocket.
This guide covers the most common bow tie inlay mistakes and how to avoid them, including template movement, wrong router bits, loose-fitting inlays, poor placement, routing too deep, and sanding problems.
Quick Answer
The most common bow tie inlay mistakes are template movement, using the wrong router bit, routing too deep, skipping a test cut, poor bow tie placement, and forcing an inlay that does not fit properly.
For cleaner results, secure the template with template tape, test the setup on scrap wood, use the correct router bits, and consider pre-cut laser bow tie inlays if you are new to the process.
Why Bow Tie Inlays Go Wrong
Most bow tie inlay issues come from setup, not the template itself. If the template moves, the router bit is not right for the detail area, the pocket is too deep, or the inlay is forced into place, the finished result can look rough even if the project started with good materials.
The good news is that most mistakes are easy to avoid with the right process. Take your time, test on scrap wood first, and use the proper supplies before routing into your final slab, table, or board.
The Most Common Bow Tie Inlay Mistakes
1. The Template Moves While Routing
If the acrylic template shifts during the cut, the bow tie pocket can become oversized, uneven, or sloppy around the edges.
2. The Wrong Router Bit Is Used
A bit that is too large may not reach detailed areas, while the wrong bit setup can create a poor fit or rough pocket.
3. The Inlay Does Not Fit Properly
A poor fit can leave visible gaps around the bow tie or make the inlay difficult to seat cleanly into the pocket.
4. The Pocket Is Routed Too Deep
Routing too deep can make the inlay sit low, require extra filling, or create extra sanding and cleanup work.
5. The Bow Tie Placement Looks Random
Bow ties look best when they feel intentional. Poor placement can make the finished project feel busy or unbalanced.
6. No Test Cut Is Made First
Skipping a test cut is one of the easiest ways to ruin a final piece. Always confirm the setup on scrap wood first.
Mistake 1: The Template Moves While Routing
Template movement is one of the most common bow tie inlay problems. Even a small amount of movement can make the routed pocket larger than intended, which can lead to gaps around the inlay.
Before routing, make sure the clear acrylic template is firmly attached to the workpiece. We recommend using template tape because it holds the template securely without needing screws or clamps in the routing area.
Shop Template Tape →Mistake 2: Using the Wrong Router Bit
Bow tie inlays usually require more than one router bit for the cleanest result. A larger bit can remove most of the material, but it may not reach the tight corners and detailed areas of the template.
For this process, we recommend a larger bit for pocketing the main area, a smaller bit for tight corners and details, and a flush trim bit if you want to make your own bow tie inlays from scratch.
Pocketing the Main Area
Use this bit to remove most of the material inside the inlay pocket.
Shop Pocketing Bit →Tight Corners + Details
Use this smaller bit to reach tighter corners and detailed areas.
Shop Detail Bit →Making Your Own Inlays
Use this flush trim bit if you want to make your own wood inlays.
Shop Flush Trim Bit →Mistake 3: The Bow Tie Inlay Does Not Fit Properly
A bow tie inlay should fit cleanly into the routed pocket. If the fit is too loose, you may see gaps around the edges. If the fit is too tight, forcing it into place can damage the inlay, the pocket, or the surrounding wood.
If you are new to bow tie inlays, pre-cut laser bow tie inlays are usually the easiest starting point. They remove the extra step of making your own matching inlay from scratch and help create a more consistent setup.
Mistake 4: Routing Too Deep
Routing too deep can make the inlay sit below the surface instead of slightly proud. If the inlay sits too low, it can be harder to sand flush and may leave a visible depression or require extra filling.
Set your router depth carefully based on the thickness of your inlay. The inlay should have enough depth to sit securely in the pocket, but it should still leave material above the surface so it can be sanded flush after glue-up.
Mistake 5: Poor Bow Tie Placement
Bow tie placement matters. A bow tie should feel like it belongs on the project, especially when it is being used across a crack, check, seam, knot, or natural opening in the wood.
Before routing, place the clear acrylic template on the wood and step back. Look at the whole piece, not just the crack. The bow tie should work with the grain, slab shape, and overall design.
Tip: If the bow tie feels distracting, try a different size, shape, wood species, or location before you route the pocket.
Mistake 6: Skipping a Test Cut
A test cut is one of the easiest ways to prevent mistakes. Before routing into your final slab, tabletop, or board, test the template, router depth, bit setup, and inlay fit on scrap wood.
This is especially important if it is your first time using a bow tie router template or if you are making your own inlays from scratch.
Mistake 7: Sanding Too Aggressively
After the inlay is glued in place, it needs to be sanded flush with the surrounding surface. Sanding too aggressively can create dips, uneven surfaces, or scratches that take more work to remove.
Let the glue cure fully, then sand carefully through your grits. The goal is to make the inlay and surrounding wood feel like one smooth surface before applying finish.
Best Setup for Beginners
If you are new to bow tie inlays, the easiest setup is to use a clear acrylic bow tie router template, template tape, the recommended router bits, and pre-cut laser bow tie inlays.
Making your own bow tie inlays from scratch is a good option for experienced woodworkers, but it adds another step where fit and accuracy matter. For beginners, pre-cut inlays help simplify the process.
Bow Tie Inlay Troubleshooting Guide
Use this quick troubleshooting chart if your bow tie inlay does not look or fit the way you expected.
| Problem | Likely Cause | How to Avoid It |
|---|---|---|
| Gaps around the inlay | Template movement, poor fit, or wrong bit setup | Use template tape, test first, and use the correct router bits |
| Rough edges | Dull bit, forcing the router, or poor technique | Use sharp bits and take controlled passes |
| Inlay sits too low | Pocket routed too deep | Set router depth carefully and test on scrap wood |
| Inlay will not seat properly | Pocket is not clean or inlay is too tight | Clean the pocket, test fit carefully, and do not force the inlay |
| Design looks awkward | Poor placement, size, or wood species choice | Place the template first and view the whole project before routing |
Supplies That Help Avoid Bow Tie Inlay Mistakes
These are the main products we recommend for cleaner, more consistent bow tie inlays.
Bow Tie Inlay Mistakes FAQ
Why are there gaps around my bow tie inlay?
Gaps can happen if the template moved, the pocket was routed too large, the inlay was not matched properly, or the wrong router bit setup was used.
How do I keep a bow tie template from moving?
Use template tape to secure the acrylic template to your workpiece before routing. Make sure the surface is clean and the template is firmly attached before starting the cut.
Should beginners make their own bow tie inlays?
Beginners can make their own inlays, but pre-cut laser bow tie inlays are usually easier. They let you focus on routing the pocket and installing the inlay cleanly.
What router bit should I use for bow tie inlays?
We recommend using a larger bit for pocketing the main area, a smaller detail bit for tight corners, and a flush trim bit if you want to make your own inlays from scratch.
Do I need to test the bow tie template first?
Yes. A test cut on scrap wood helps you confirm the router depth, bit setup, template hold, and inlay fit before routing into your final project.
Get Cleaner Bow Tie Inlay Results
Start with a clear acrylic bow tie template, secure it with template tape, use the proper router bits, and choose pre-cut laser inlays if you want the easiest beginner-friendly setup.