Router Template Tutorial
How to Make Bow Tie Inlays with a Router
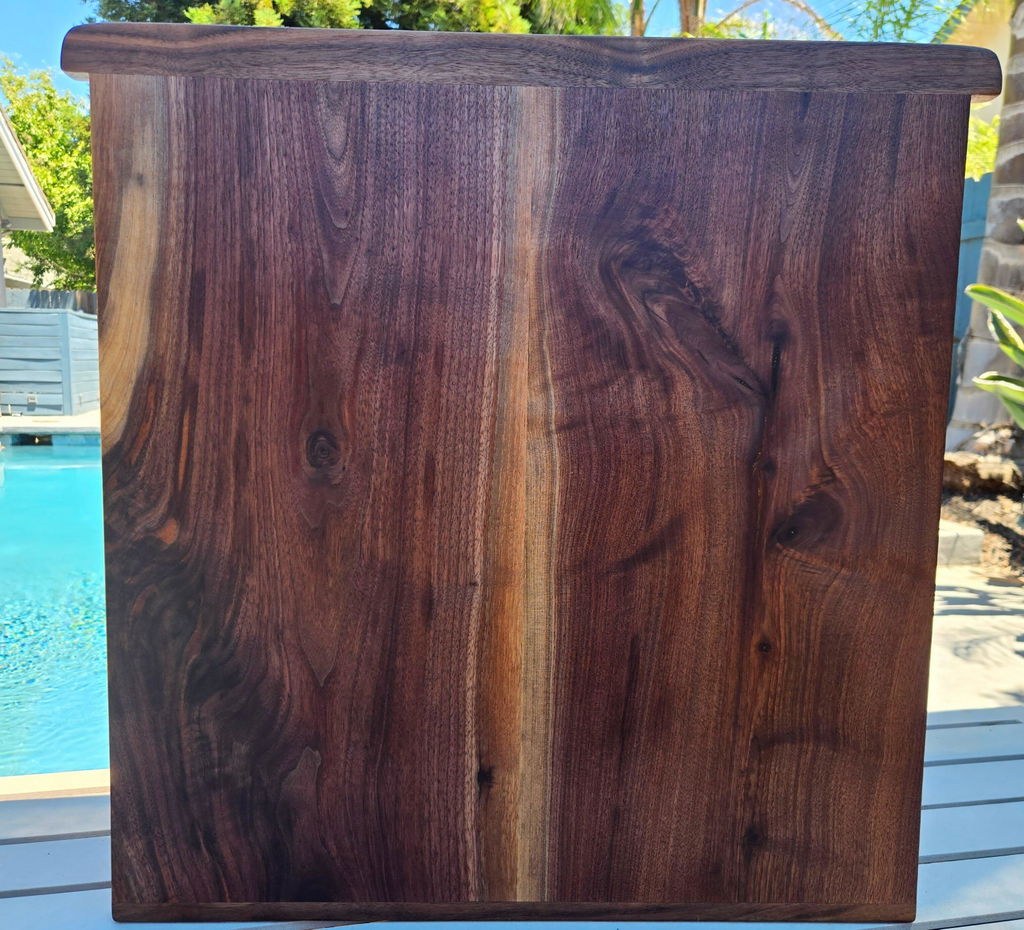
Bow tie inlays are a popular way to add detail, contrast, and character to woodworking projects. They are commonly used on live edge slabs, dining tables, coffee tables, charcuterie boards, serving boards, benches, desks, and other custom furniture projects.
This step-by-step guide explains how to route the inlay pocket with a clear acrylic bow tie template, what router bits we recommend, and when it makes sense to use pre-cut laser bow tie inlays instead of making your own from scratch.
Quick Answer
To make a bow tie inlay with a router, secure a clear acrylic bow tie template to your wood with template tape, route the pocket with the recommended router bits, test fit the wood inlay, glue it in place, and sand it flush once the glue has cured.
If you are new to bow tie inlays, we recommend using pre-cut laser bow tie inlays. Making your own inlays from scratch is possible, but it requires more setup, more precision, and a good understanding of the router bit process.
New to Bow Tie Inlays? Start Here
There are two parts to a bow tie inlay project: routing the pocket in your wood and creating or fitting the actual bow tie inlay. The easiest beginner-friendly method is to use a clear acrylic template to route the pocket, then install a pre-cut laser bow tie inlay.
Making your own bow tie inlays from scratch can work well for experienced woodworkers, but it adds another layer of precision. You need to create a matching inlay that fits the routed pocket cleanly, which can be more challenging if this is your first time using bow ties.
Shop Beginner-Friendly Laser Cut Inlays →What Are Bow Tie Inlays?
Bow tie inlays are decorative wood inlays shaped like a bow tie or butterfly. They are often routed into a wood surface and glued into place across a crack, check, knot, seam, or natural opening in the wood.
They are also called butterfly inlays, butterfly keys, bow tie keys, bow tie joints, or wood stitches. No matter what name you use, they can add a custom handmade detail to slabs, tables, serving boards, and furniture.
Tools and Supplies You Need
Before routing into your project, gather the right supplies and test your setup on scrap wood. This helps confirm your router depth, bit setup, template placement, and inlay fit before working on your final piece.
Clear acrylic template used to route the inlay pocket.
Shop Templates → Template Tape
Used to secure the acrylic template to your workpiece.
Shop Template Tape → Laser Cut Bow Tie Inlays
Recommended for beginners and faster project setup.
Shop Inlays → Router Bits
Use the proper bits for pocketing, detail cleanup, and making inlays.
Shop Router Bits →
Recommended Router Bits
Using the correct router bits makes the process cleaner and more accurate. For this style of bow tie inlay template, we recommend a larger bit for removing most of the material, a smaller bit for tight corners and detailed areas, and a flush trim bit if you want to create your own bow tie inlays from wood.
1. Pocket the Main Area
Use this carbide tipped flush trim plunge bit to remove the majority of the material inside the bow tie inlay pocket.
Shop Pocketing Bit →2. Clean Up Tight Details
Use this smaller miniature flush trim plunge bit to get into tighter corners and detailed areas of the template.
Shop Detail Bit →3. Make Your Own Inlays
Use this UltraTrim spiral flush trim bit if you want to make your own bow tie inlays from scratch.
Shop Flush Trim Bit →Step-by-Step: How to Route a Bow Tie Inlay Pocket
Step 1: Choose Your Inlay Location
Decide where the bow tie should go. Common locations include cracks, checks, knots, seams, or areas where you want to add a decorative detail. Use the clear acrylic template to line up the shape with the grain and natural features in the wood.
Step 2: Secure the Template
Attach the template to the wood using Template Tape. Make sure the template is firmly held in place before routing. Movement during the cut can create an oversized or uneven pocket.
Step 3: Set Your Router Depth
Set the router depth based on the thickness of your inlay. The goal is to route a pocket deep enough for the inlay to sit securely while leaving enough material to sand it flush after installation. Test this on scrap wood first.
Step 4: Pocket the Main Area
Use the larger pocketing bit to remove most of the material inside the bow tie shape. Take your time and avoid forcing the router. Multiple controlled passes are better than trying to remove too much material at once.
Step 5: Clean Up Tight Corners
Use the smaller detail bit to reach tight corners and detailed areas that the larger bit cannot fully clean out. This helps create a better fit for the inlay.
Step 6: Test Fit the Inlay
Test fit your bow tie inlay before adding glue. If you are new to the process, pre-cut laser inlays are the easiest option because the shape is already made for you. If you are making your own inlay, take your time and sneak up on the fit.
Step 7: Glue the Inlay
Once the inlay fits properly, apply glue and press the inlay into the routed pocket. Make sure it is seated evenly and allow the glue to fully cure before sanding.
Step 8: Sand Flush and Finish
After the glue has cured, sand the inlay flush with the surface of your project. Once the surface is smooth, apply your preferred wood finish.
Should You Use Pre-Cut Bow Tie Inlays or Make Your Own?
For most beginners, pre-cut laser bow tie inlays are the better starting point. They save time, reduce frustration, and help you focus on learning how to route the pocket cleanly.
Making your own bow tie inlays from scratch is a great option once you are comfortable with the process. It gives you more control over the wood species, grain direction, thickness, and final look, but it also requires more precision.
Best for Beginners
Use laser cut bow tie inlays if you want the simplest and most consistent setup.
Shop Laser Cut Inlays →Best for Advanced Woodworkers
Make your own inlays if you want full control over the wood species, grain, and final look.
Shop Flush Trim Bit →Where to Use Bow Tie Inlays
Live Edge Slabs
Bow ties are commonly used across cracks and checks in live edge slabs to create a more intentional finished look.
Dining Tables + Desks
They add a handmade detail to larger furniture pieces like dining tables, desks, benches, and coffee tables.
Charcuterie Boards
Smaller bow tie inlays can add contrast and detail to charcuterie boards, serving boards, and gift projects.
Epoxy Projects
Bow ties can be used alongside epoxy projects to add extra detail before finishing the surface.
Common Mistakes to Avoid
- Routing into your final project before testing on scrap wood.
- Not securing the template firmly enough before routing.
- Trying to remove too much material in one pass.
- Using the wrong router bit for the detailed areas.
- Not checking router depth before cutting.
- Forcing an inlay that does not fit properly.
- Sanding too aggressively after installation.
Shop Bow Tie Inlay Supplies
Here are the main supplies we recommend for routing and installing bow tie inlays.
Bow Tie Inlay Router FAQ
Can beginners make bow tie inlays with a router?
Yes, but we recommend beginners start with laser cut bow tie inlays instead of making the inlays from scratch. This lets you focus on routing a clean pocket and installing the inlay properly.
Do I need a bow tie template?
A bow tie template makes the process easier and more repeatable. It helps you route a consistent pocket instead of laying out and cutting the shape completely by hand.
What router bits do I need for bow tie inlays?
We recommend using a larger bit to pocket most of the inlay area, a smaller detail bit for tight corners, and a flush trim bit if you want to make your own bow tie inlays from scratch.
Are bow tie inlays the same as butterfly inlays?
Yes. Bow tie inlays and butterfly inlays are two common names for the same style of woodworking inlay.
Should I use pre-cut bow tie inlays or make my own?
If you are new to bow ties, pre-cut laser inlays are usually the better option. Making your own gives you more control, but it requires more precision and more setup.
Start with the Right Bow Tie Inlay Setup
For the easiest setup, use a clear acrylic bow tie router template, secure it with template tape, route the pocket with the recommended bits, and install pre-cut laser bow tie inlays for a cleaner beginner-friendly fit.