How To: All wood Charcuterie Board
What we Discuss
- 6 Easy steps to finishing an all wood Charcuterie Board
- Adding a Handle / inlay details
Simplify the process by using one of our Charcuterie Board Templates here


Shop for all of these wood species and more HERE
Step by Step Guide:
1. De-bark your piece. Overtime the bark will want to pull away from the wood and come off. We recommend removing it with either a draw knife or chisel and hammer.
2. Assess the board to see if it has any cracks / voids that need to be filled. It is important to fill all voids and cracks to prevent food or water from getting in to them during use or cleaning. We recommend this 705 Quick Set Adhesive for small areas or West System Epoxy for larger voids in the wood. Adding pigment is optional if you would like the area to be coloured instead of clear.
If the crack goes all the way through the board use Tuck Tape to seal off the bottom side.

Read a more in depth Article here on "Sanding Tips + Tricks"
3. If you used Resin: Sand at 60g to remove any overflow epoxy if you had to fill any voids and cracks.
4. If there was no resin fill, start sanding at 80g, 100g, 120g, 150g and so on. What you finish your board with will determine what grit you should sand up to.
If using Rubio Monocoat Oil sand up to 150g or 180g
If using Walrus Oil sand up to 400g or 600g
5. After you have finished sanding, use a dry cloth to clean off your surface so that it is dust free. We use Wypall Cloths to clean the surface.
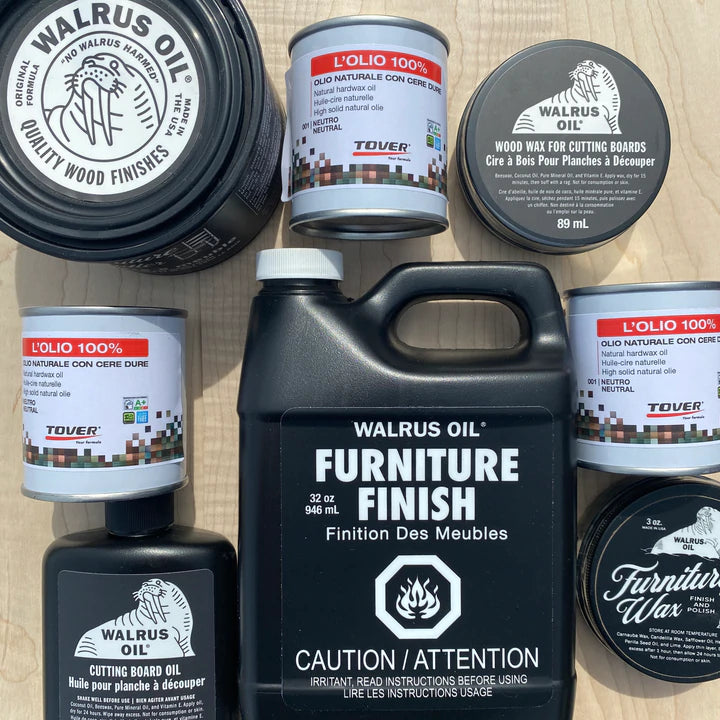
We Recommend these Oil Brands. Purchase them HERE
6. Use a Non-Woven Pad to spread the oil around. Make sure to follow the instructions for the Oil finish you are using.
To get a step by step guide on finishing your piece with Rubio Monocoat Click Here .
For Instructions on finishing your piece with Walrus Oil Click Here
Wait until the oil has fully cured before using your board. You can now Enjoy your all wood Charcuterie Board!
Click Below to watch a video on how to Build your own Board
Click Here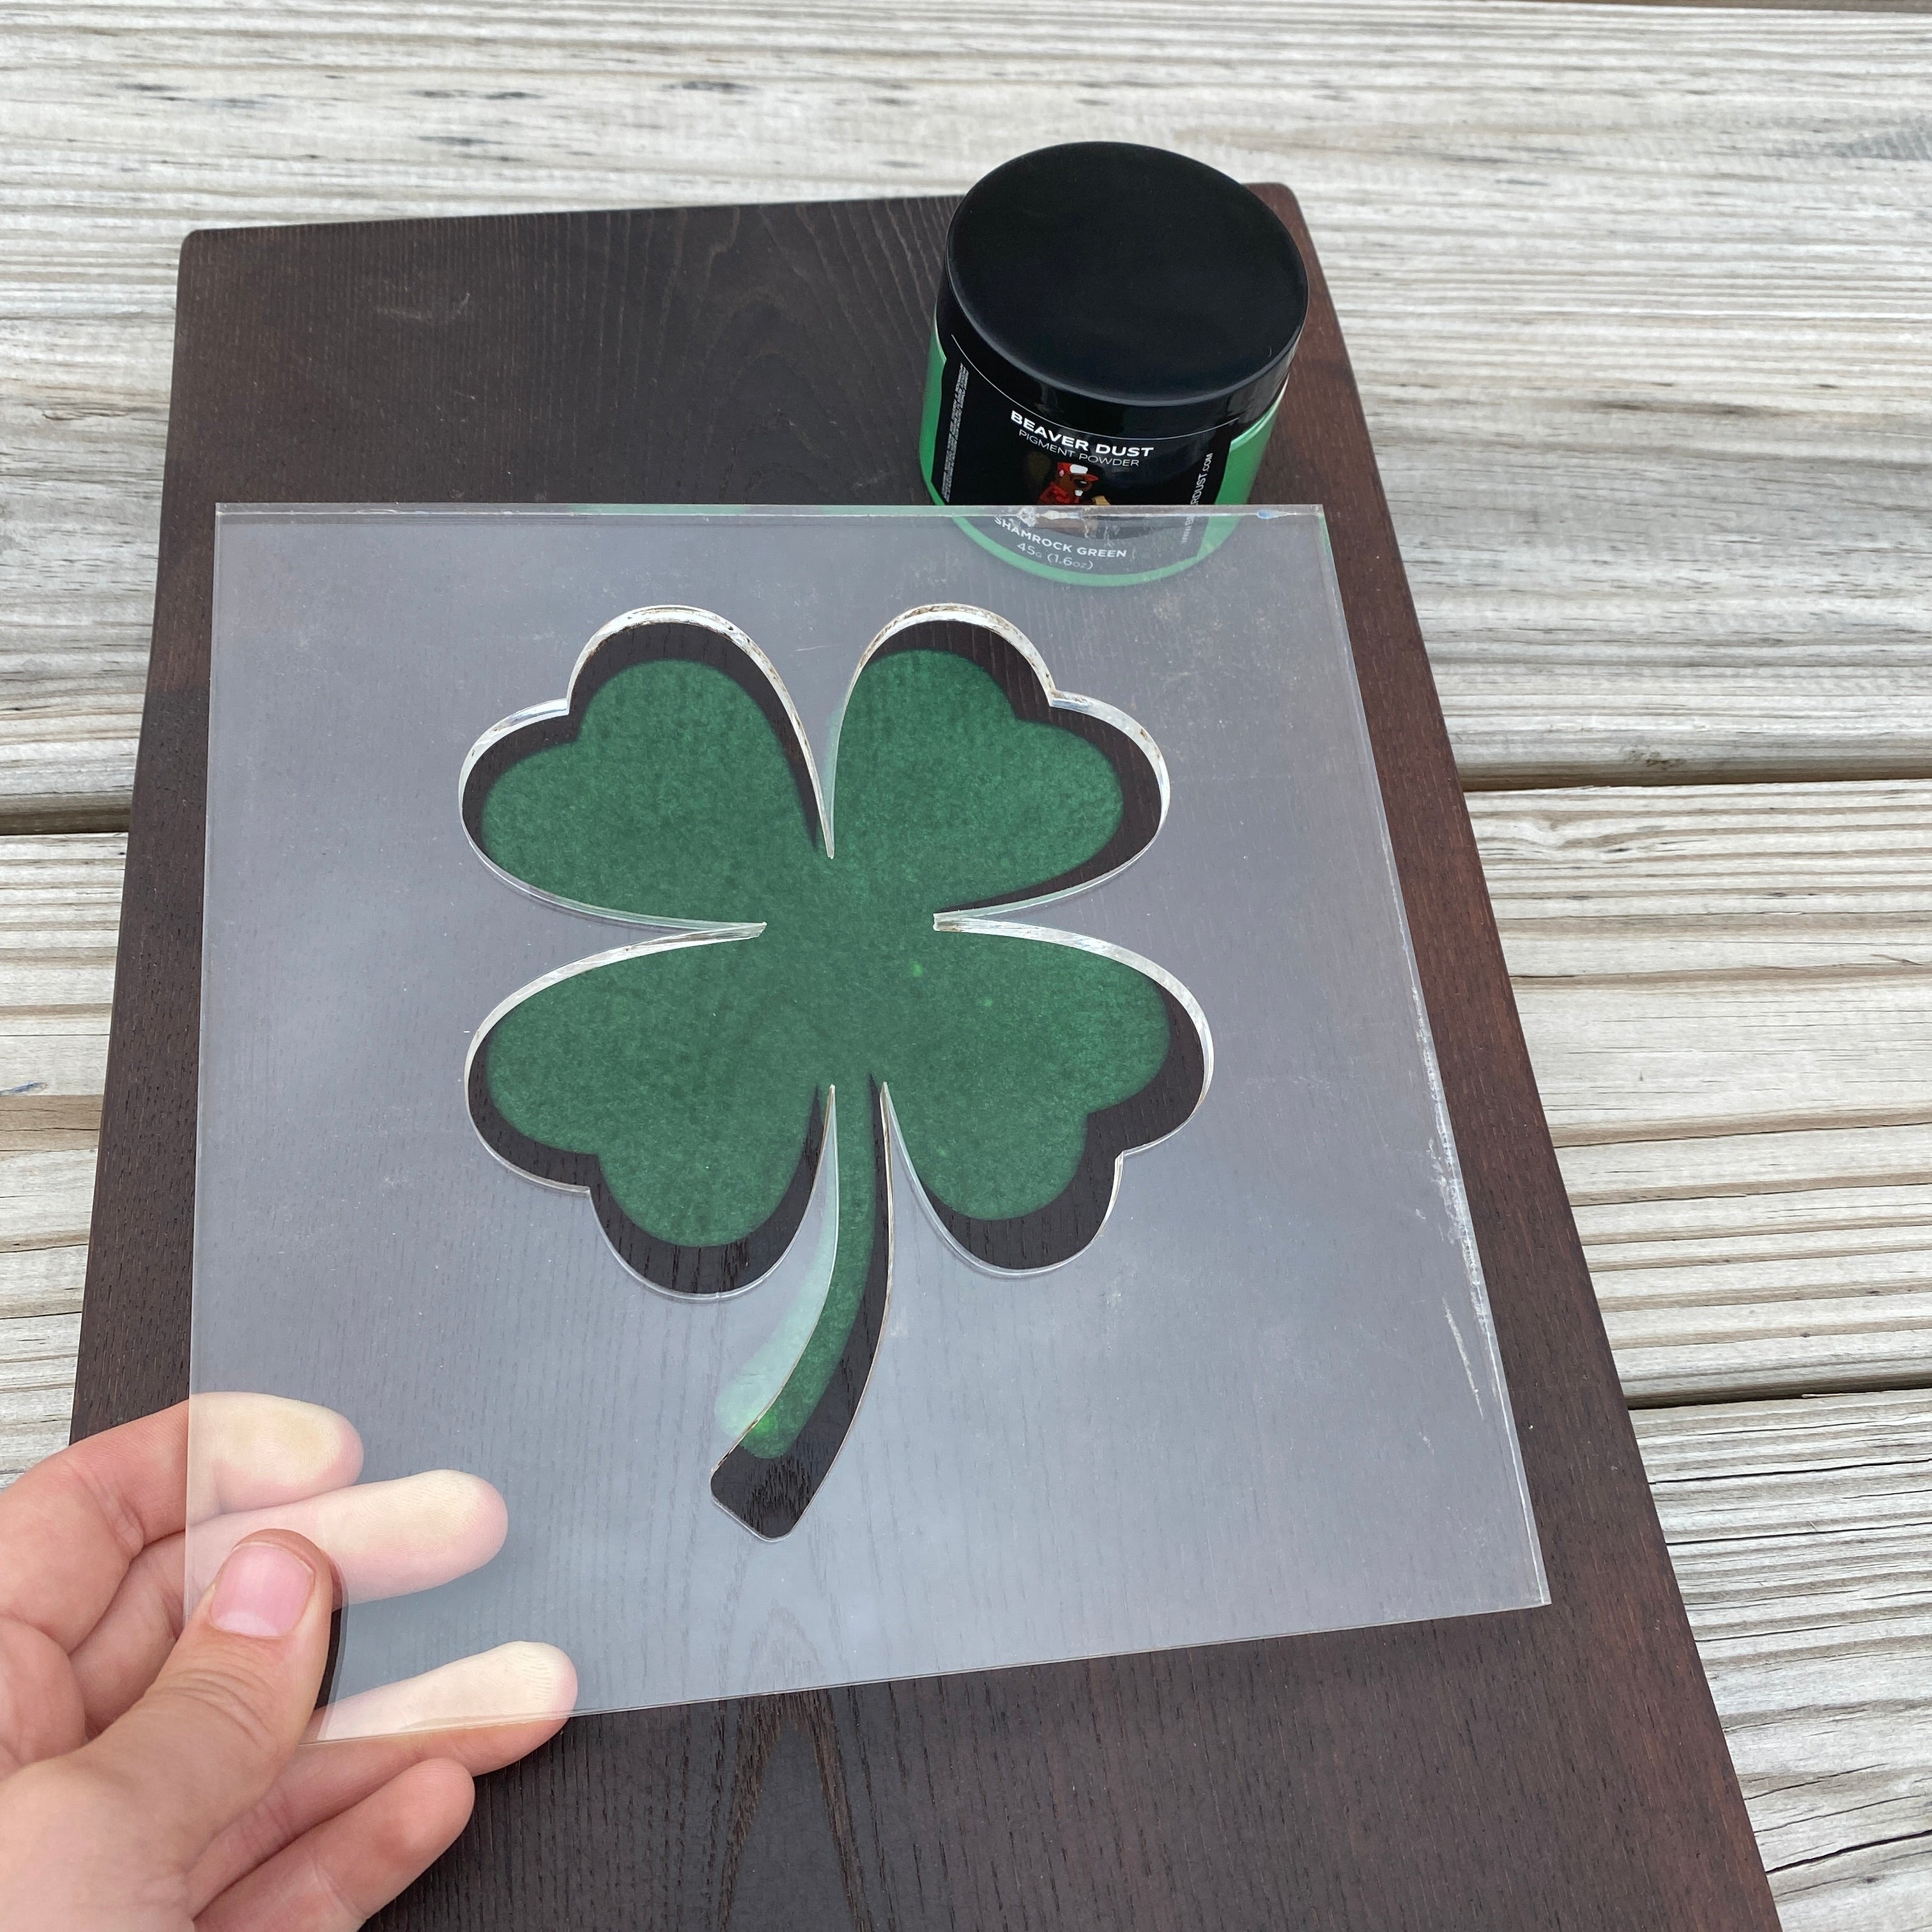
We used Beaver Dust Shamrock Green for this Clover Epoxy inlay
Adding Handles + Inlay
Between Step 2 and 3 stated above is when you want to asses if you would like to add a handle or Inlay. This should be completed before you begin sanding.
Click the following links to read a guide of how to add a handle or inlay feature to your board.
Purchase your handle template here
Purchase a template design to inlay in your charcuterie board here


